4.1 Introduction Tutorial
Welcome to Trustle's Tutorial Series!
In this series, Trustle will educate you on our product and walk you through how we provide value to your company. This Introduction Tutorial will show you how to get started with Trustle by creating users, adding systems, and completing a Just-In-Time request. The first thing to do will be to create a free-trial account with Trustle, which can be accomplished on our home page. Once you have your account, we can begin by giving a short tour of pages on Trustle and how you would use them as the Organization Owner.
Dashboard Walkthrough
Access Page
The first page you will see on the Trustle Dashboard is the Access page. This page highlights what Resources are Active and Available based on what Systems you have installed. This is also where you or your employees will come to request access to Resources.

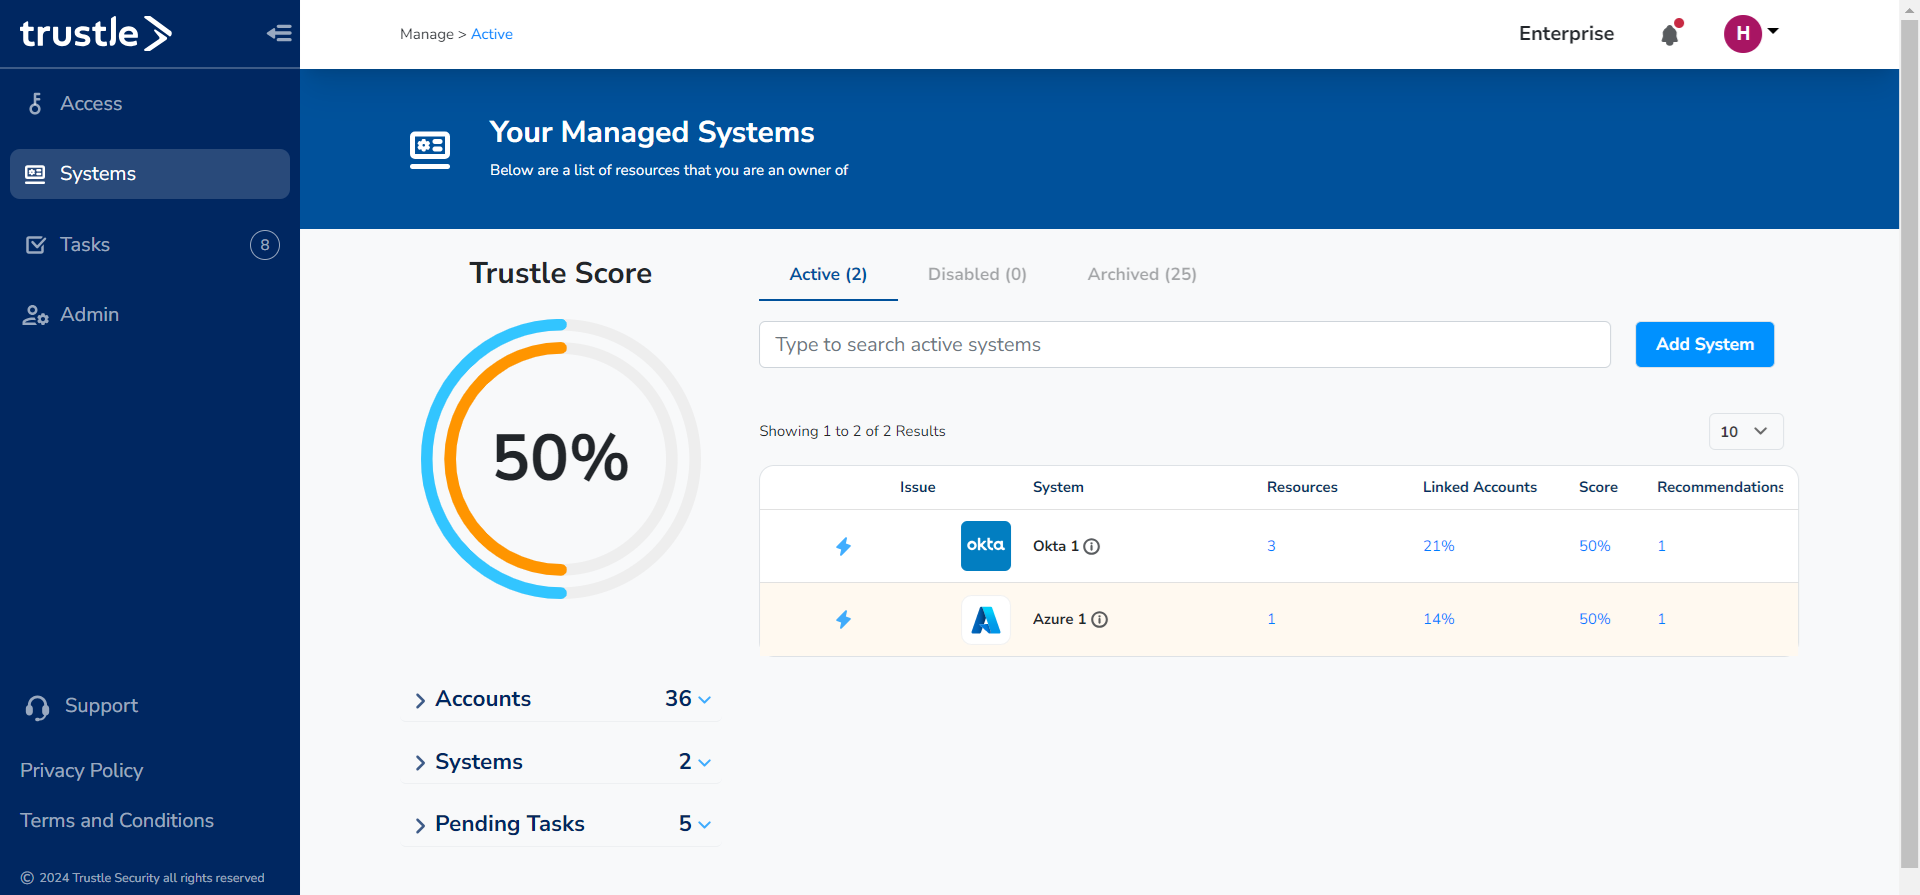
Systems Page
The next page is the Systems page. This is where you will install new Systems you would like to provision access to. You will see your Active, Disabled, and Archived Systems. You will see an overview of how many Resources are in each System, along with the percentage of Linked Accounts and other Recommendations.
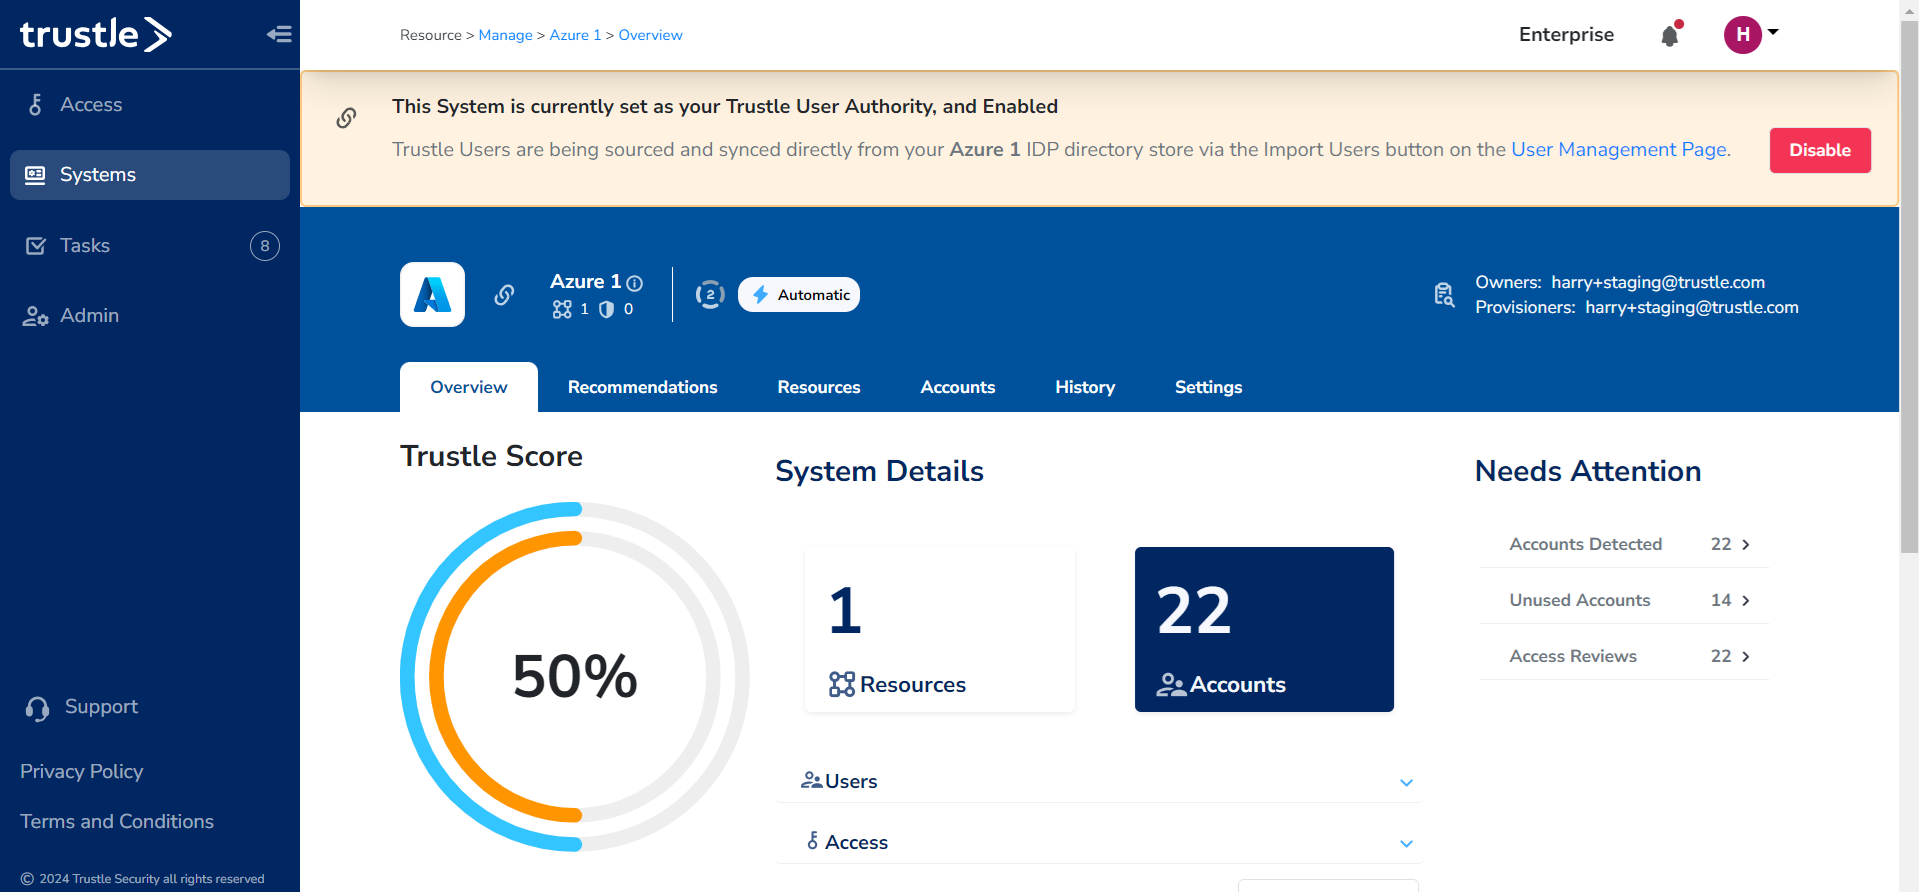
Clicking into a System will bring you into the details of that specific System. Here you will see tabs for the Overview, Recommendations, Resources, Accounts, History, and Settings. All of these will help you govern over this single System. You will also see if this System is set as your Trustle Authority, which we will cover more later.
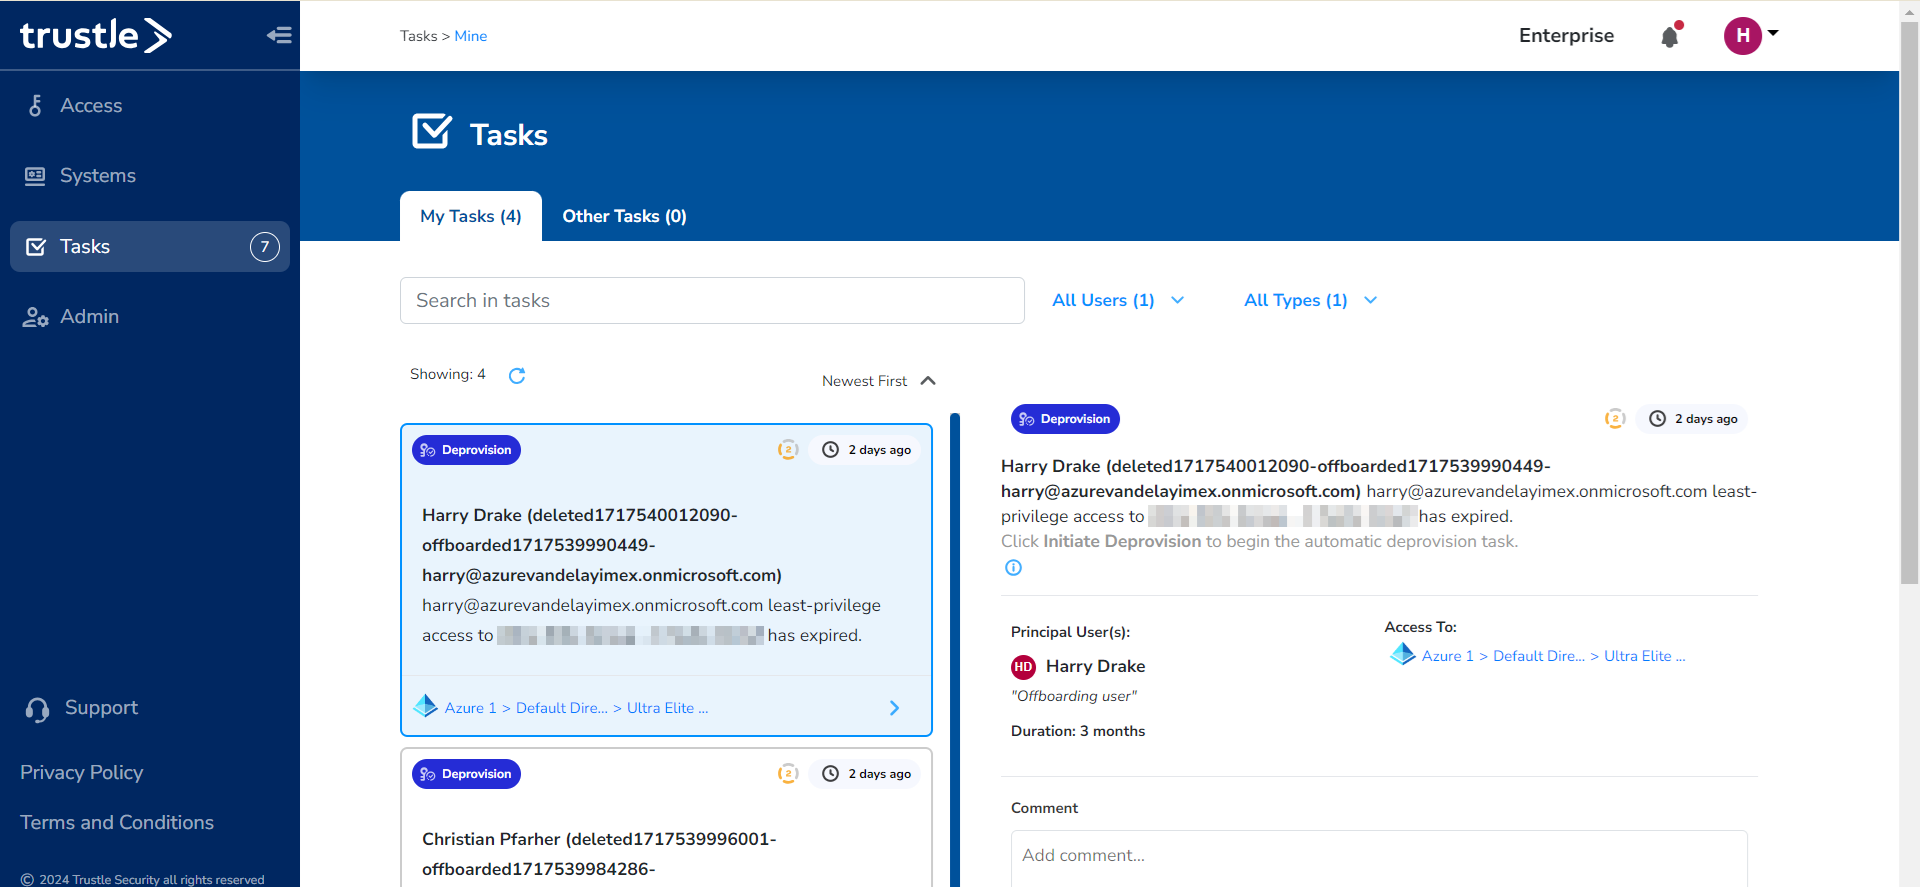
Tasks Page
The Tasks page shows you where your employees have requested access to, and provides an option to accept or reject their requests.
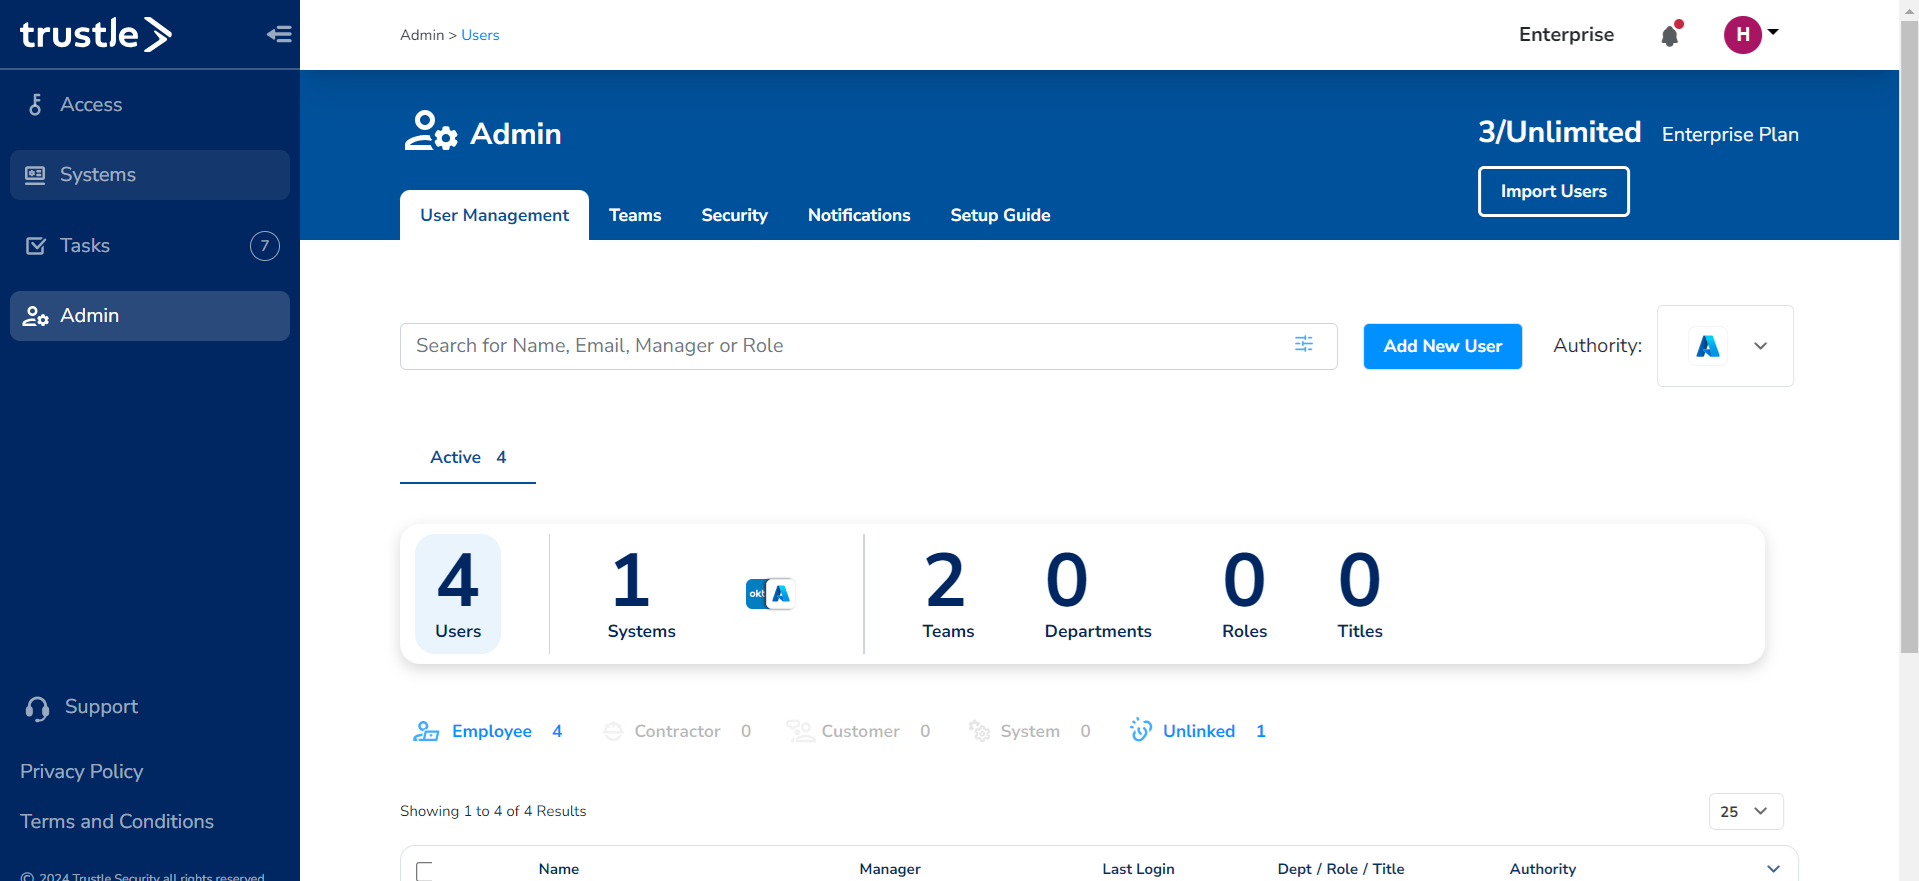
Admin Page
The Admin page will be your Dashboard on what is happening with your Trustle tool. After installing Systems and Users, this Admin page will show which users are Active or Inactive in Trustle. It will also provide other information on each tab titled: User Management, Teams, Security, Notifications, Setup Guide.
System Setup
Create a User
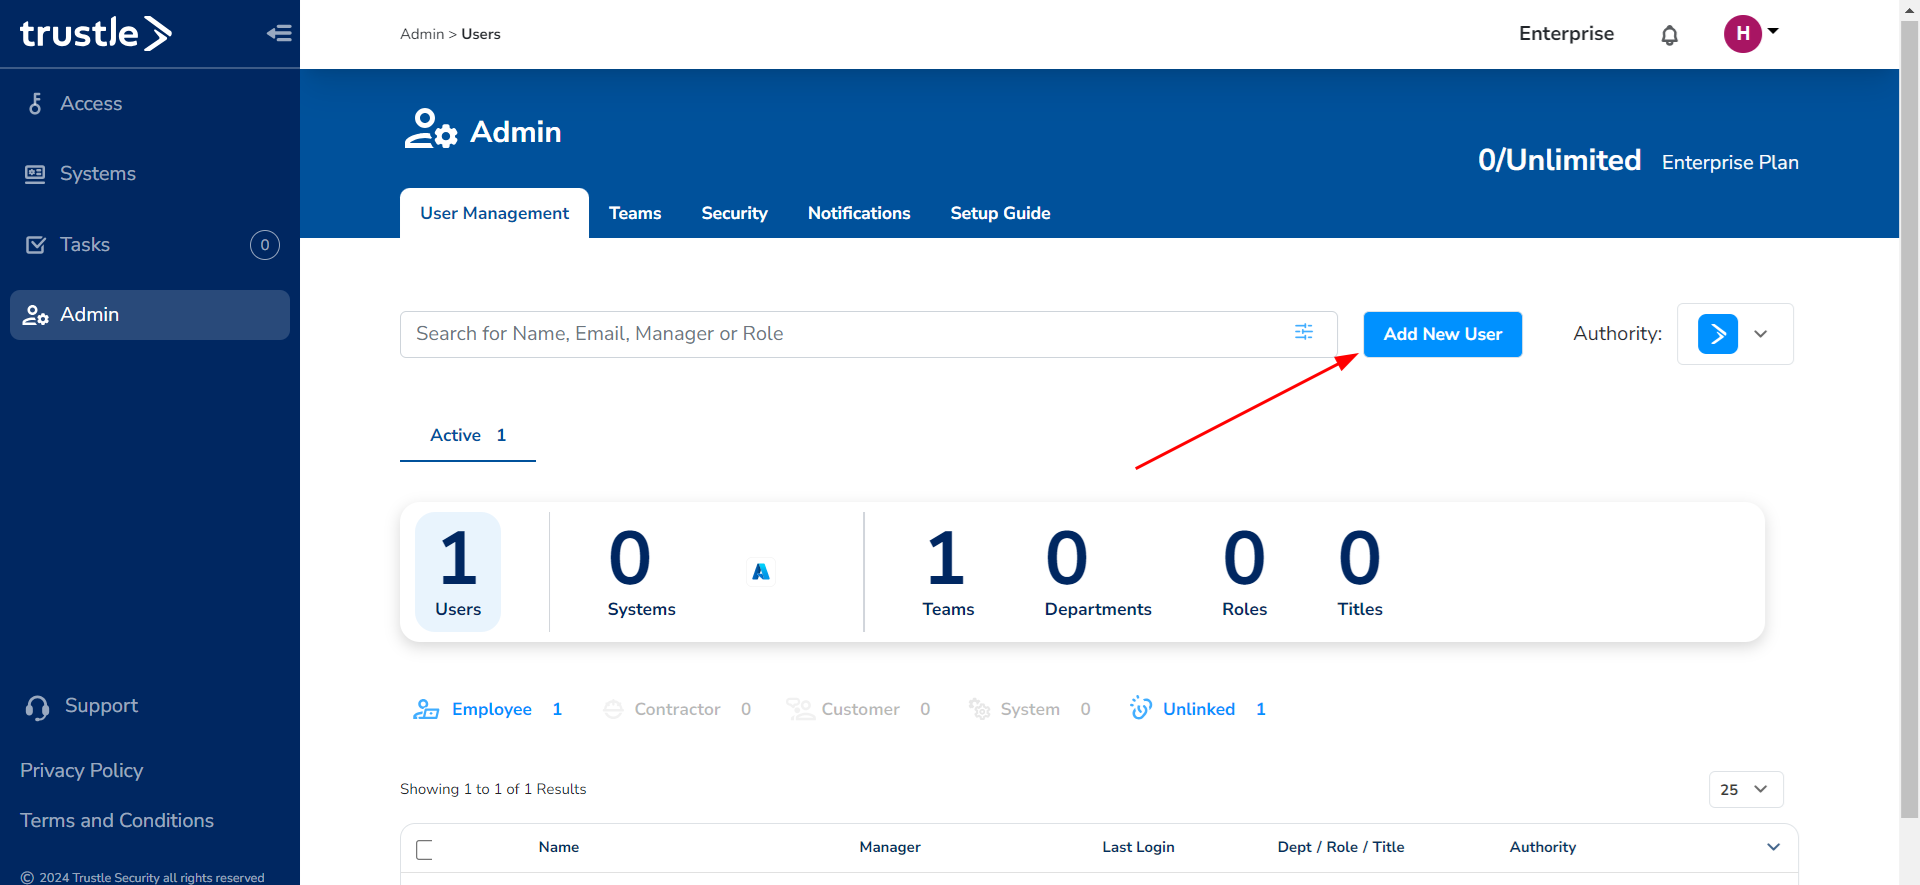
Now that you understand the basics of each page within Trustle, we will start this installation Tutorial by manually adding a new user with the "Add New User" button on the Admin page.
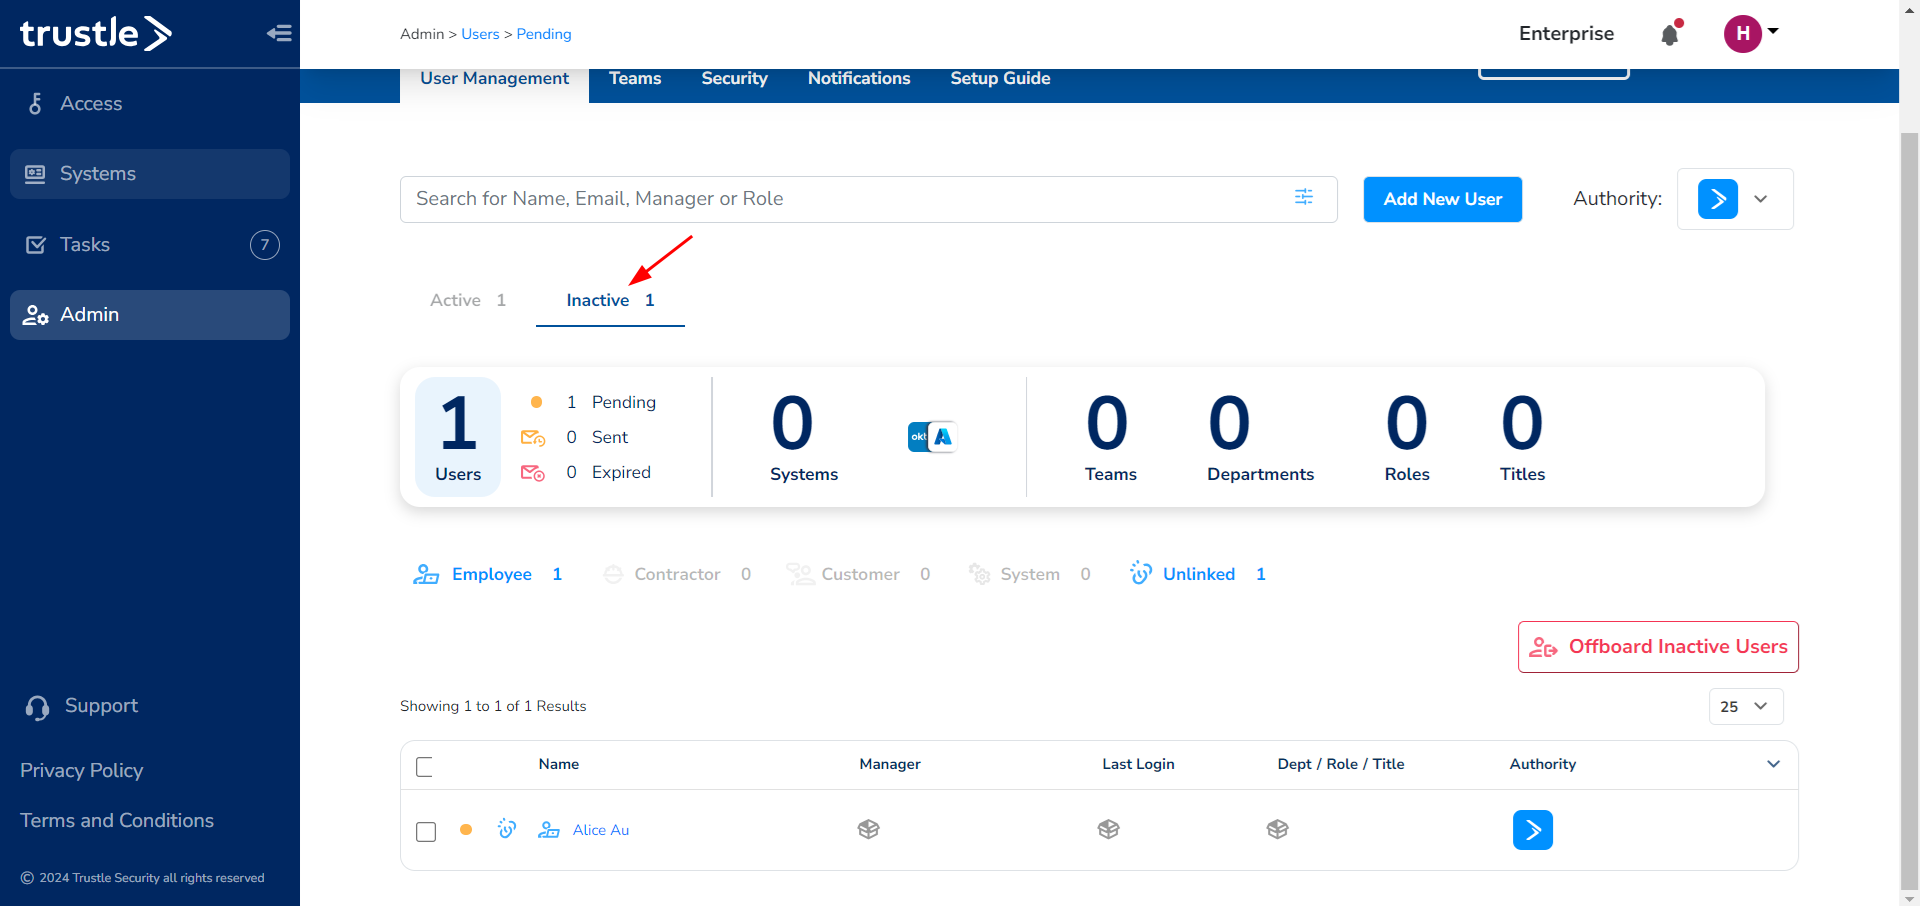
In the Pop-Up, add the user "Alice Au" with the email "[email protected]". Her email will correspond to your email. If I were to use my email as an example, Alice's email would become "[email protected]". After submitting this user, you will see Alice in the Inactive tab.
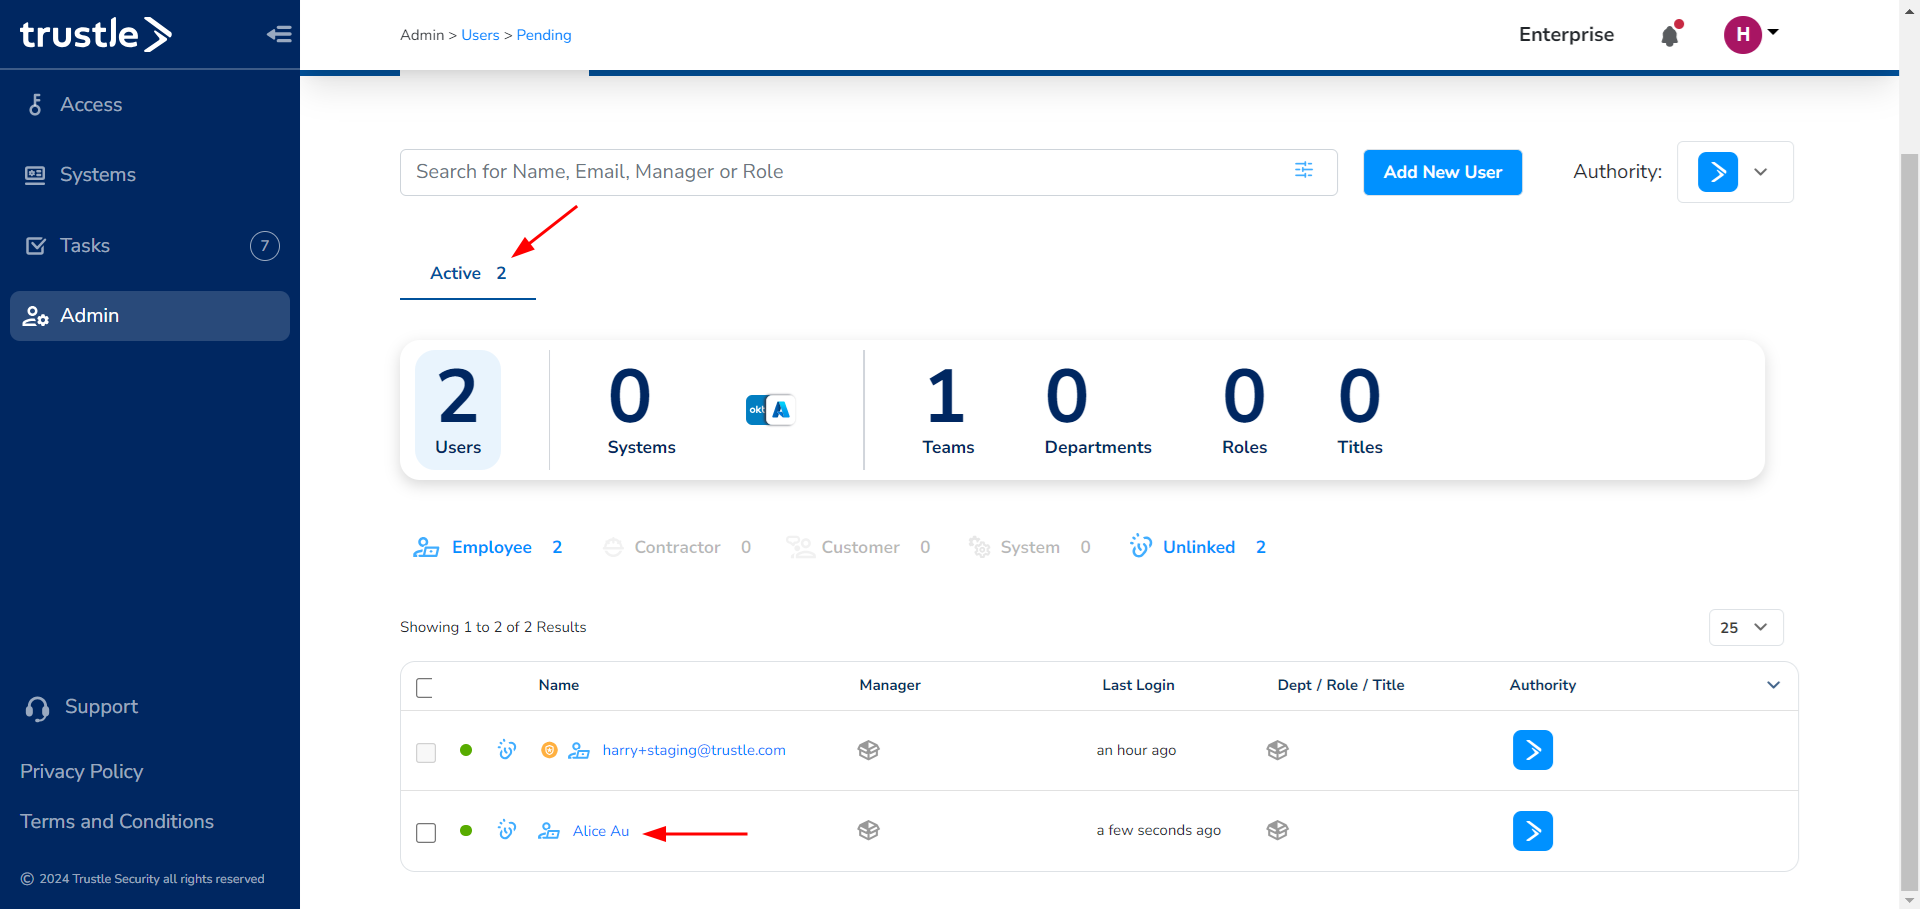
Highlight her name and select Actions, Send Invite. You can also find this if you hover over her name and find the icons that pop up on the right. This will send Alice an invite email to become Active, and this email will go to your inbox, as Alice's email is a redirect to yours. Find that email and open it in an Incognito tab so you can keep both logins open at once. Give Alice a password and complete the login. You will then see Alice come over to the Active tab. Keep that Incognito tab of Alice's login open for the next section.
Now that you have your User activated, we can move on to install a system.
Install a System
We're going to install a System and connect an Alice user from that System to our Alice User on Trustle. This section will not define each step for installing a System, but I invite you to look over the next sections of our Tutorial for steps on the different available Systems. For this Tutorial, I'm going to choose Azure as my System. If you would like to follow my steps, please find the Azure Install Tutorial to complete this.
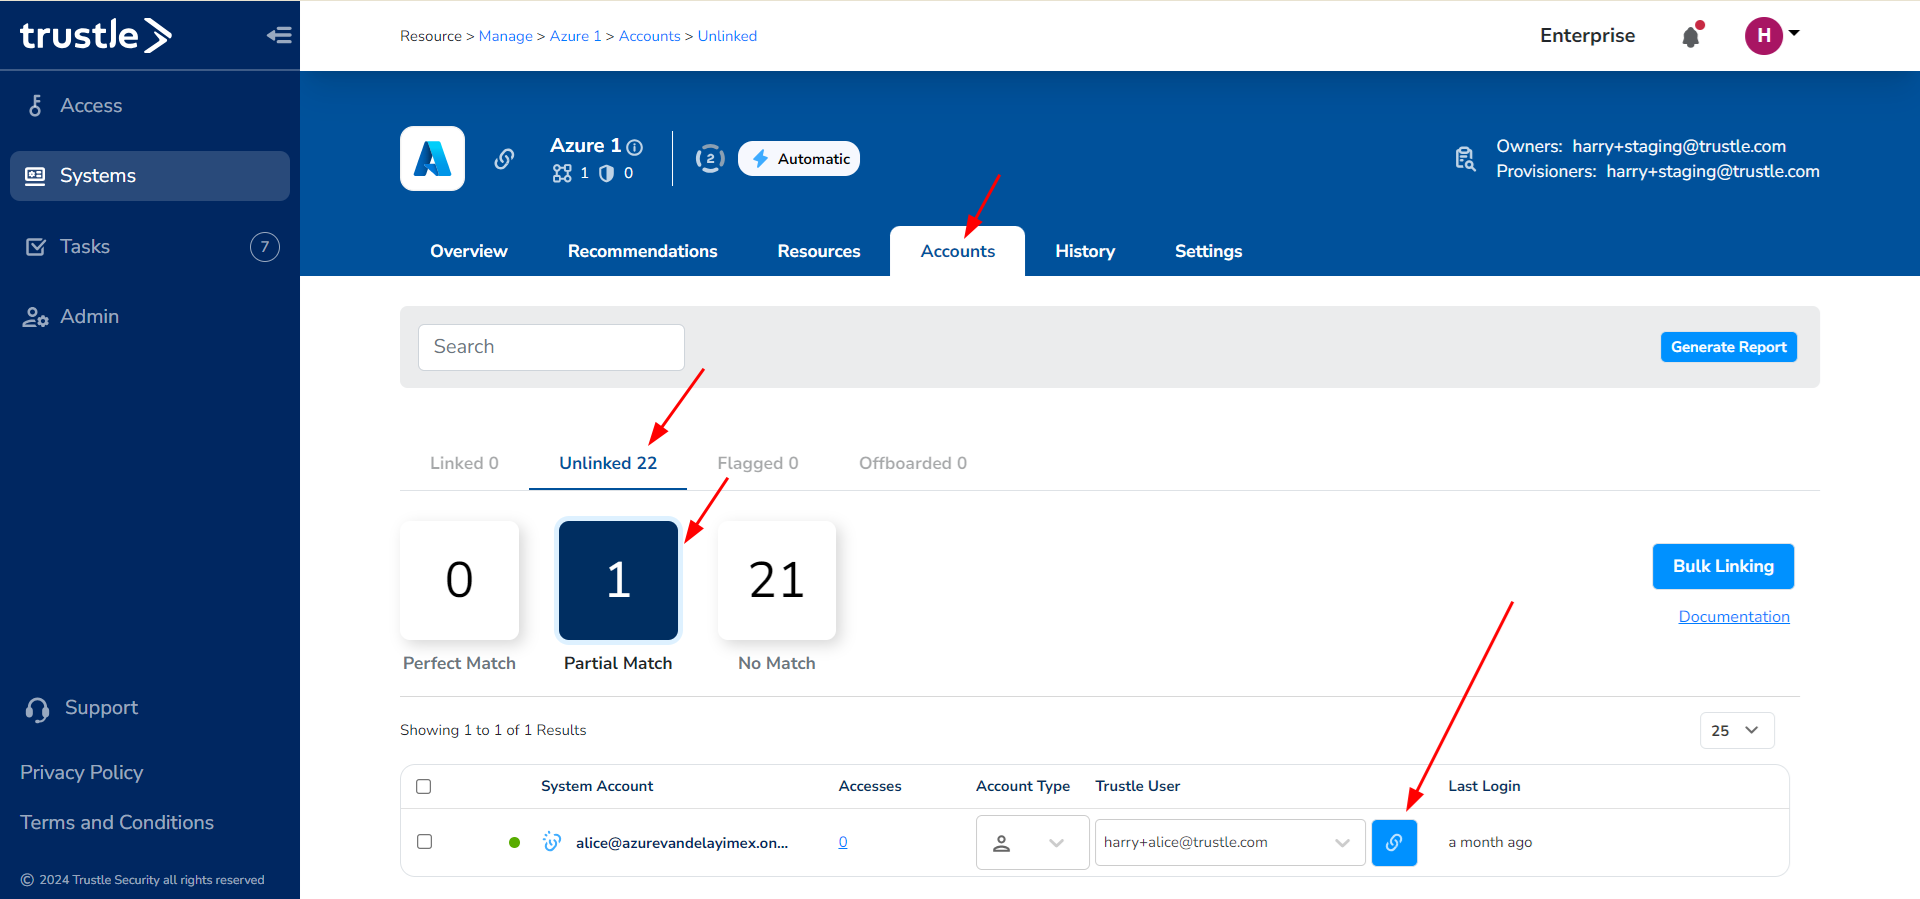
Once you have Azure successfully installed, create an Alice Au user on Azure and give her the same email you gave before. Now we can sync Azure to Trustle and bring this user in. To complete this, head to the Systems page on Trustle and select your Azure system. Go to the Settings page and select "Import Now". This will bring in your users from Azure. Now go to the Accounts tab under Azure, and find your Alice user in the Unlinked section. Select the Link button to link your Azure Alice with your Trustle Alice.
Now she should appear in the linked tab.
Connect to Slack
Trustle allows your Organization to request and approve tasks on Slack in addition to the Trustle Tasks page. This is a fast alternative for Organizations that communicate on Slack. To set up your Slack connection, you will need a Slack account. You can create a new Slack account for free if necessary. The owner of this account should have the same email as your Organization Owner on Trustle.
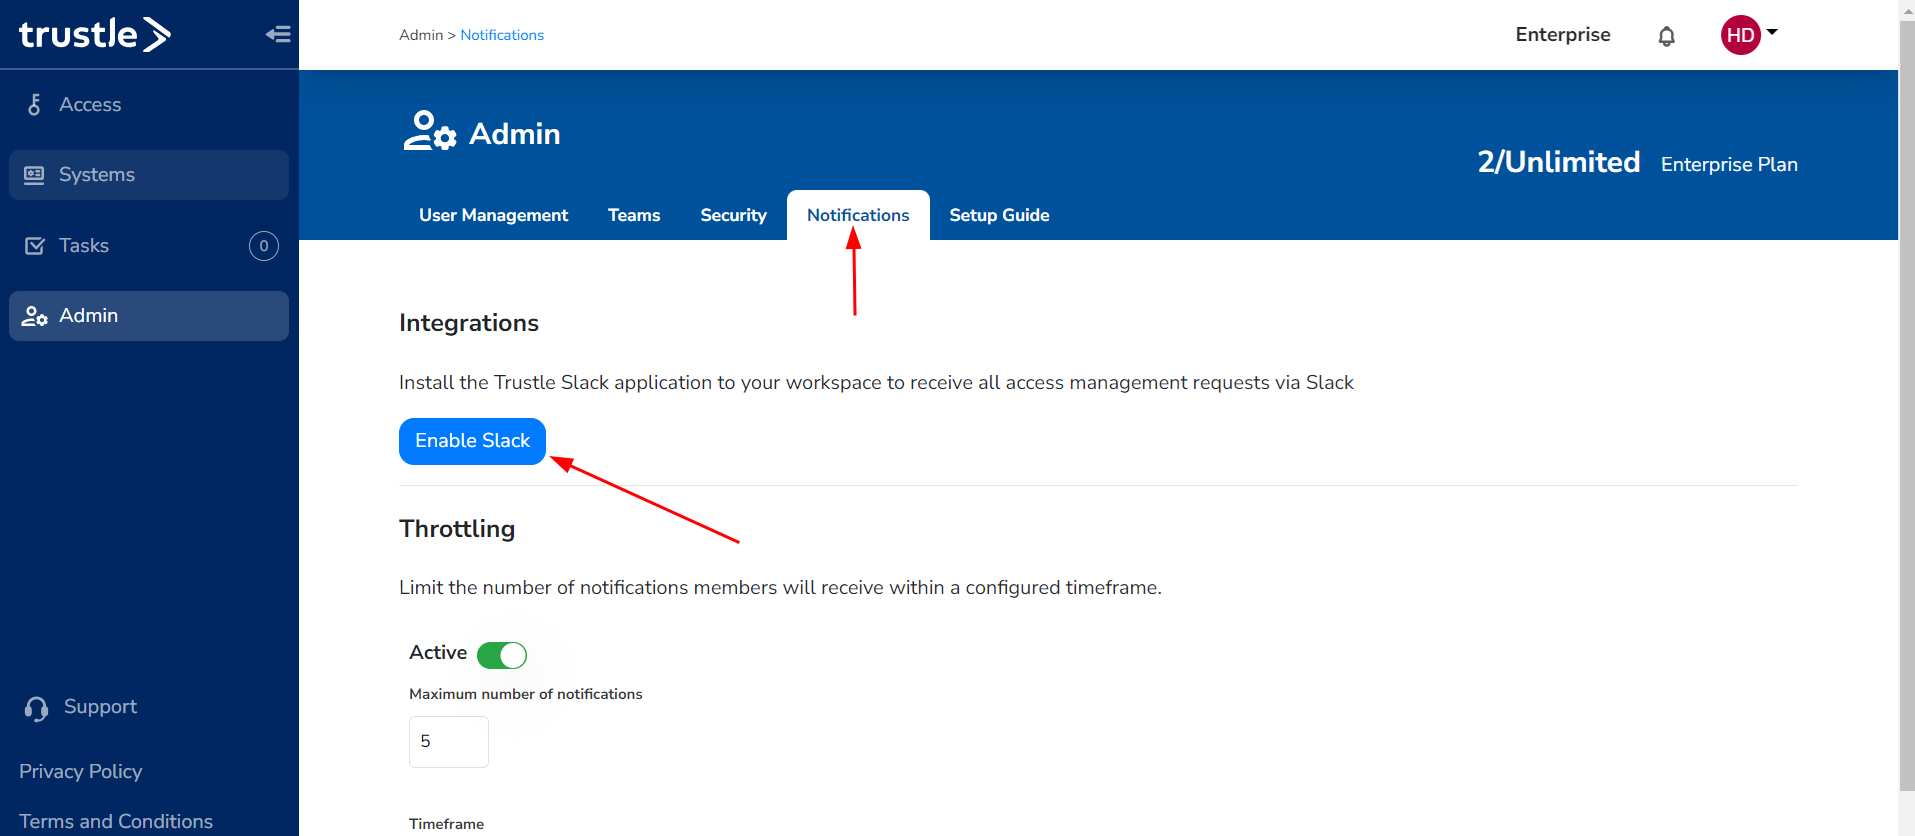
Once you have your slack account, we will start at the Admin Page on Trustle and click Notifications, Enable Slack. Make sure that you are logged into Slack in an adjacent tab.
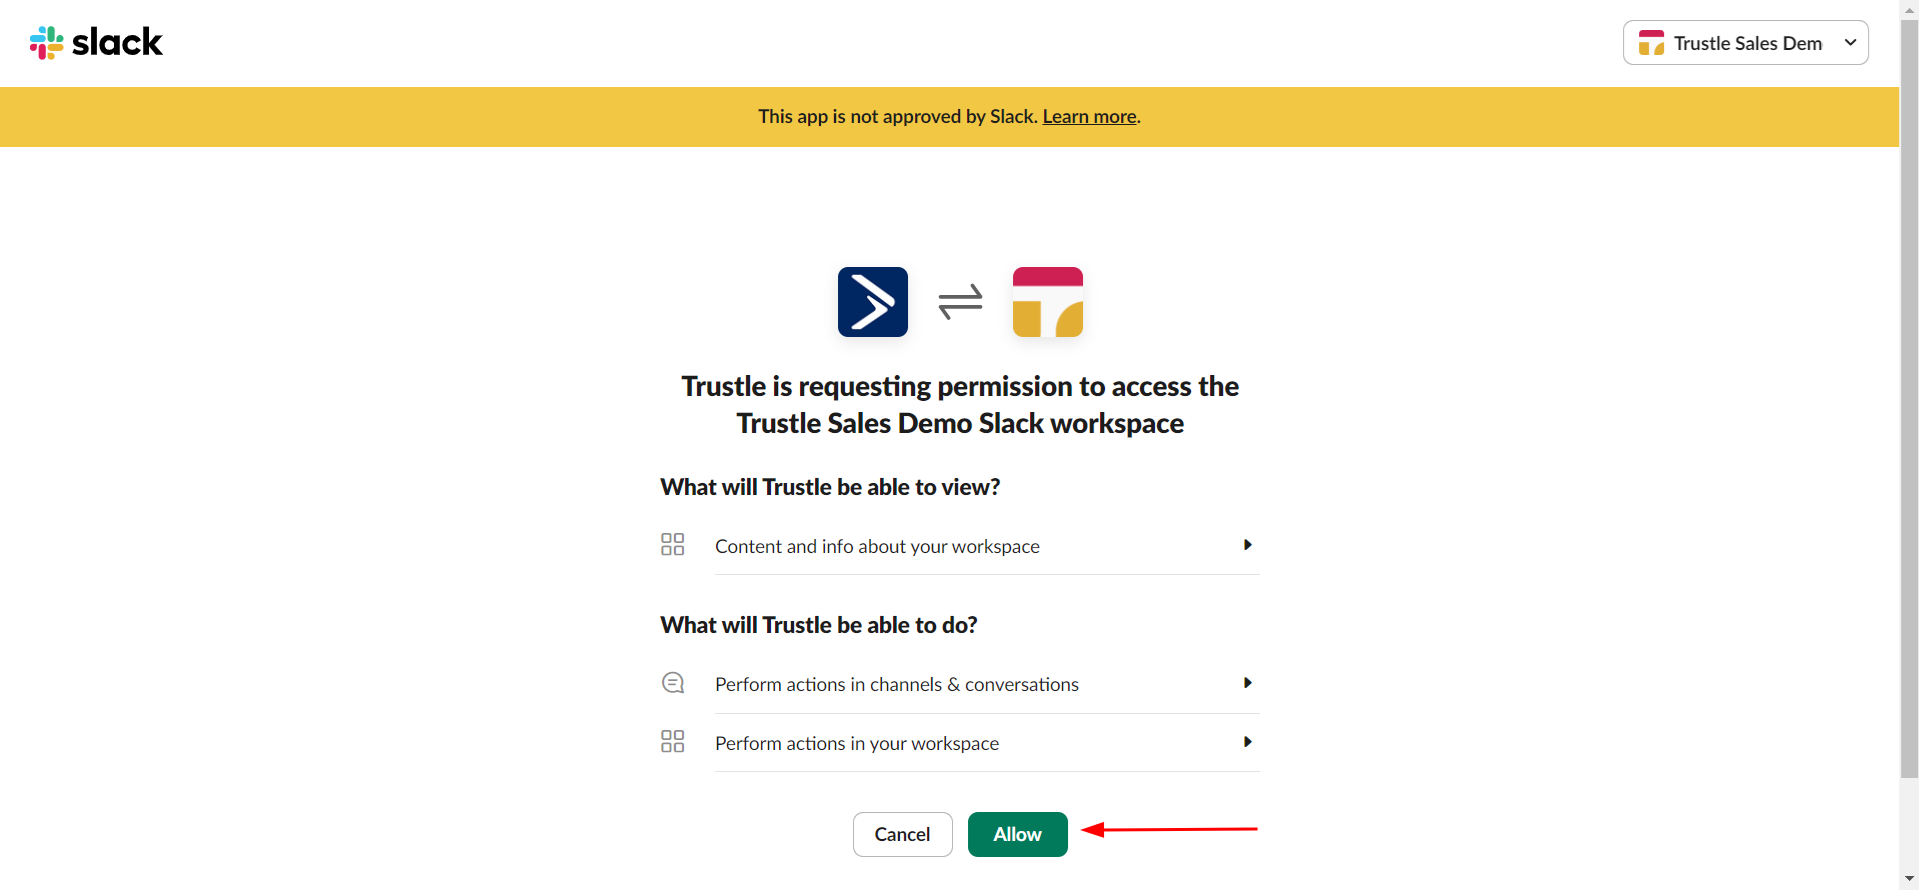
Once clicked, Trustle should be able to find your Slack account. If you have multiple Slack accounts, it is good to perform this action on an incognito page so Trustle finds the correct Slack account. Click allow to complete the setup.
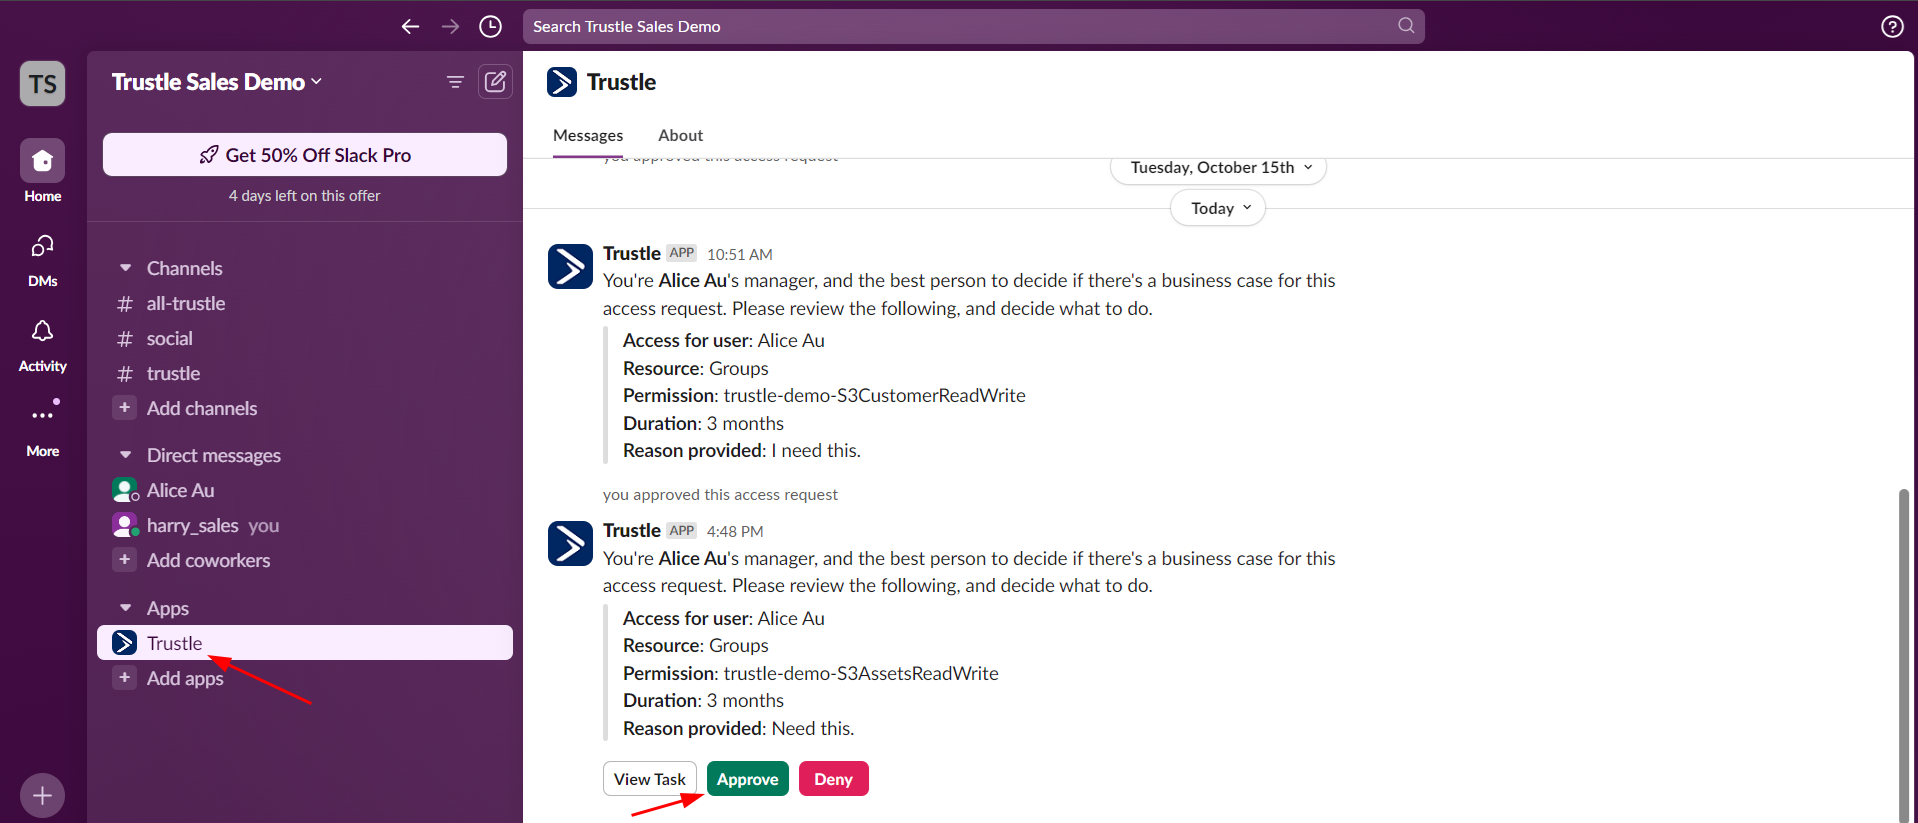
Head back to Slack and you'll see that the Trustle App is now connected! Once you run the Just-In-Time request (shown below), you will also be able to complete that request through Slack.
We hope you enjoy the new Slack connection! Now onto the Just-In-Time section.
Just-In-Time Request
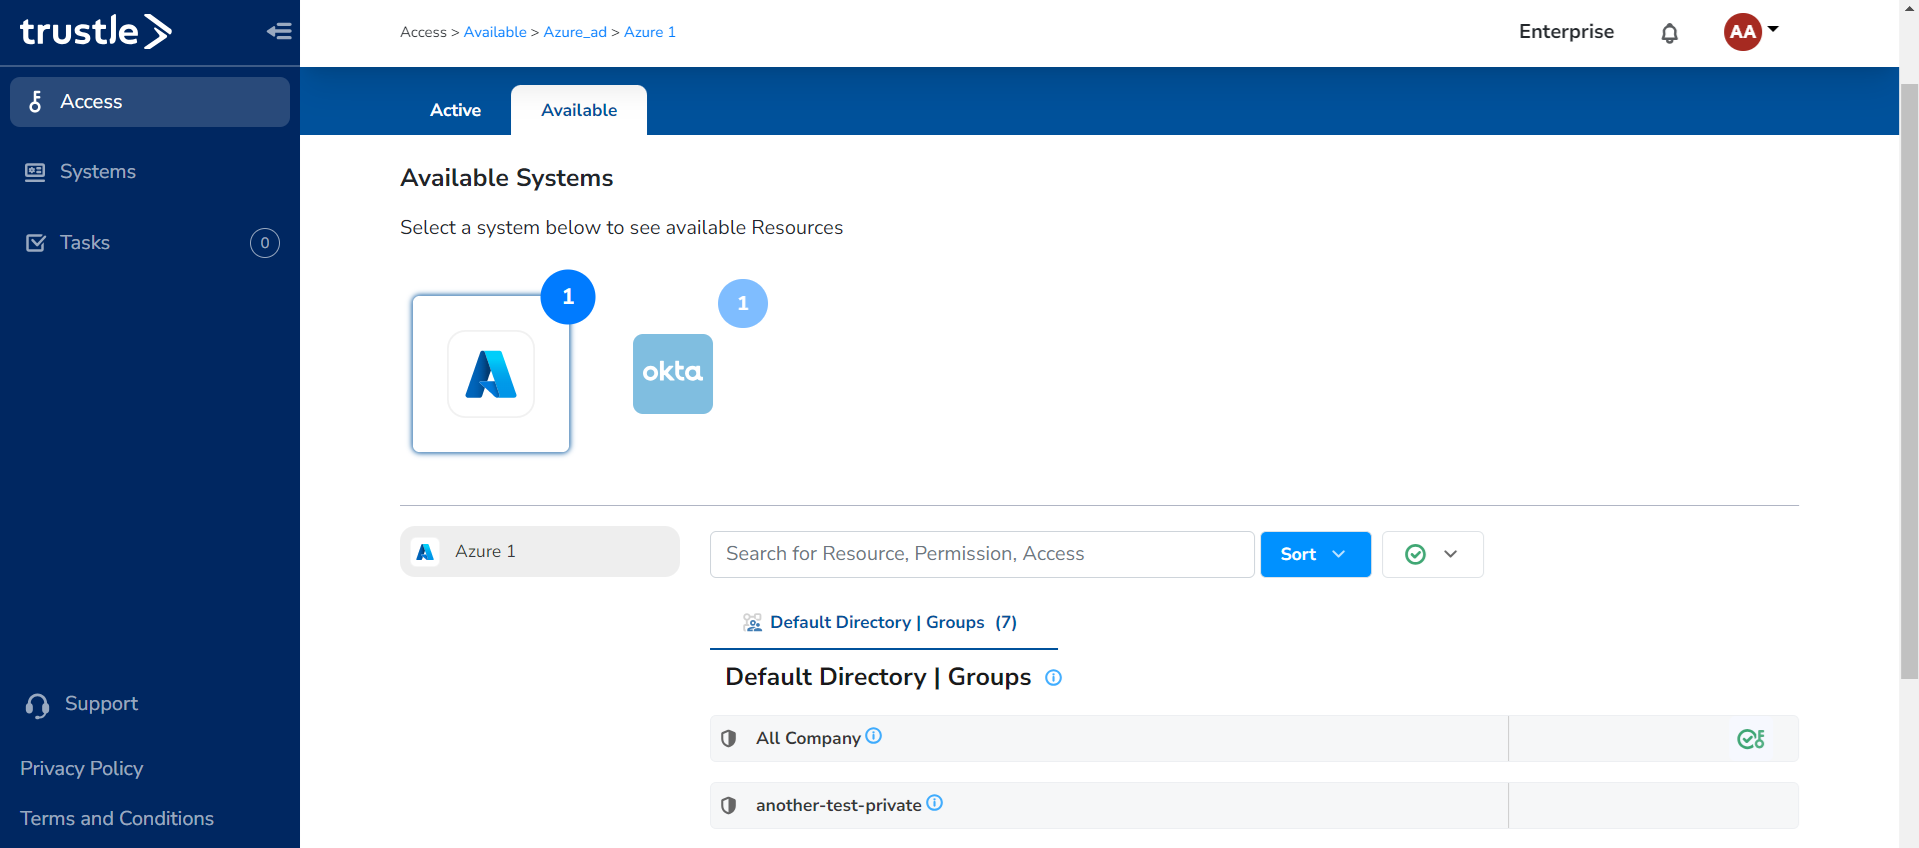
Now that we have our Alice user created and linked, we can show how this user would request access to a Resource in Azure. Go back to your Incognito tab with Alice's profile and see that she now has an Azure System in her Access tab. Find an available group and hover over it, then click on the green Icon on the right to request access. Complete the Pop-Up and give a reason for the request.
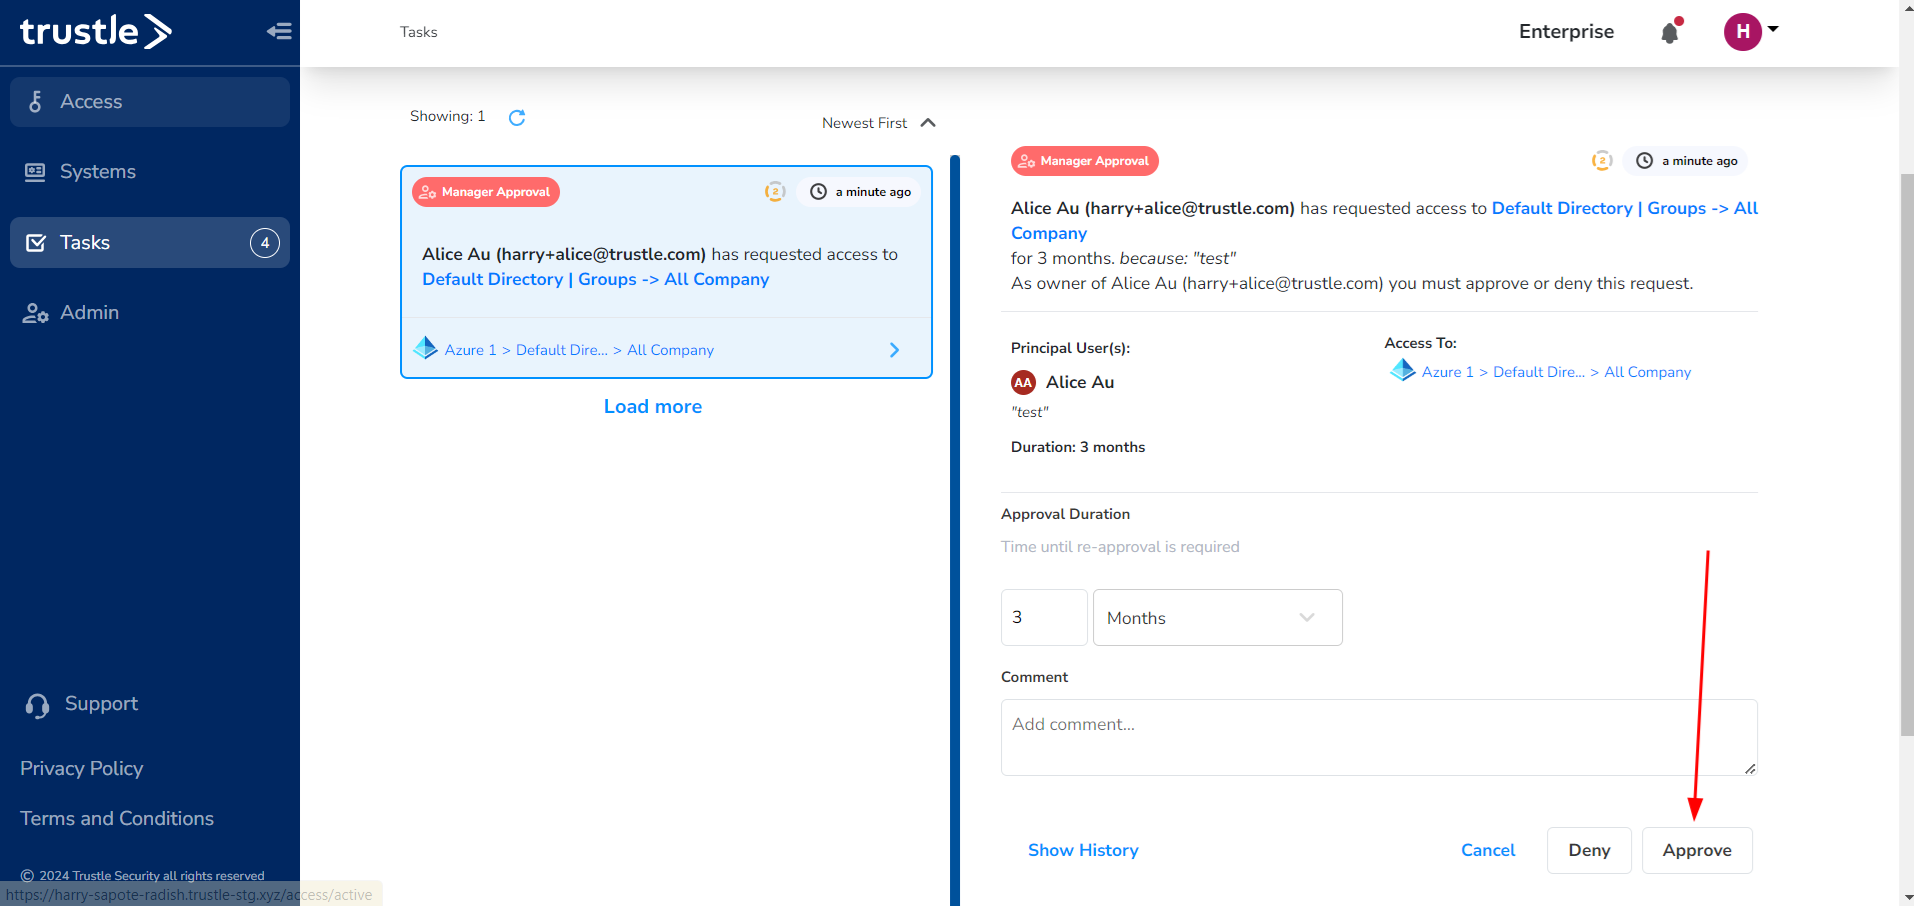
Head back to your Organization Owner profile, and go to the Tasks page. You should now see a task from Alice requesting access to the group in Azure! Grant her request by clicking Approve.
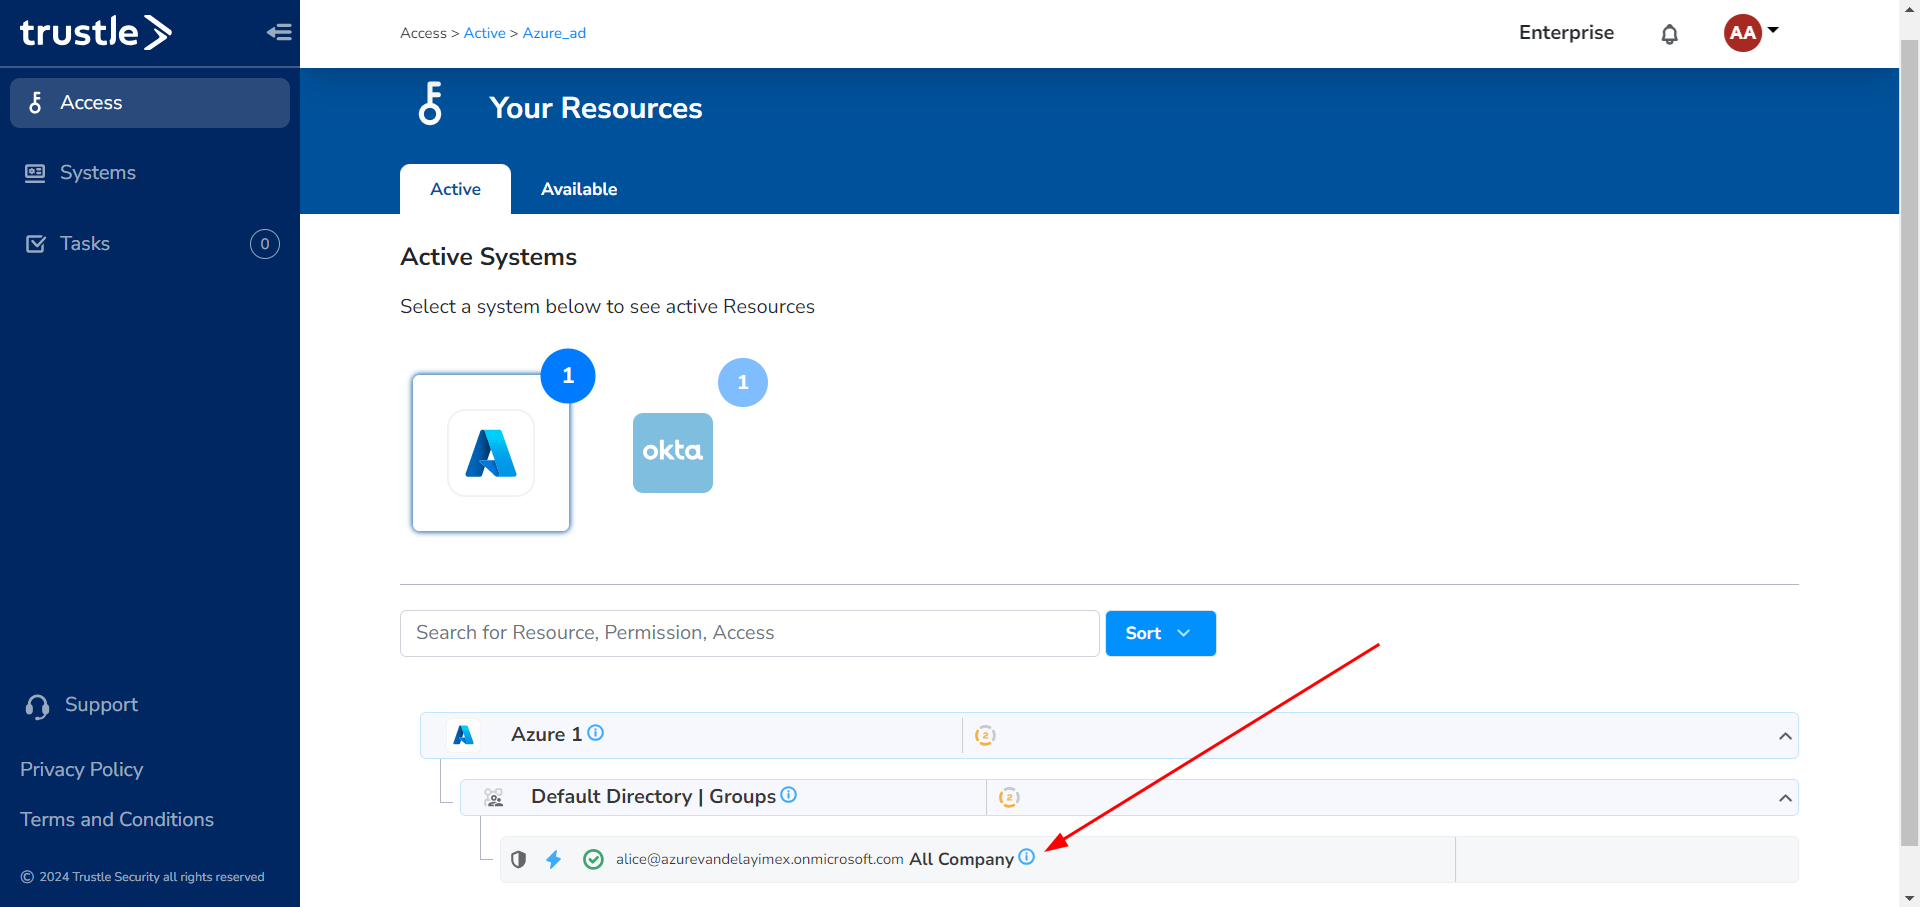
Now head back to Alice's profile in the Incognito page and open the Active section of her Access page. You will see she now has access to the group you provisioned in Azure!
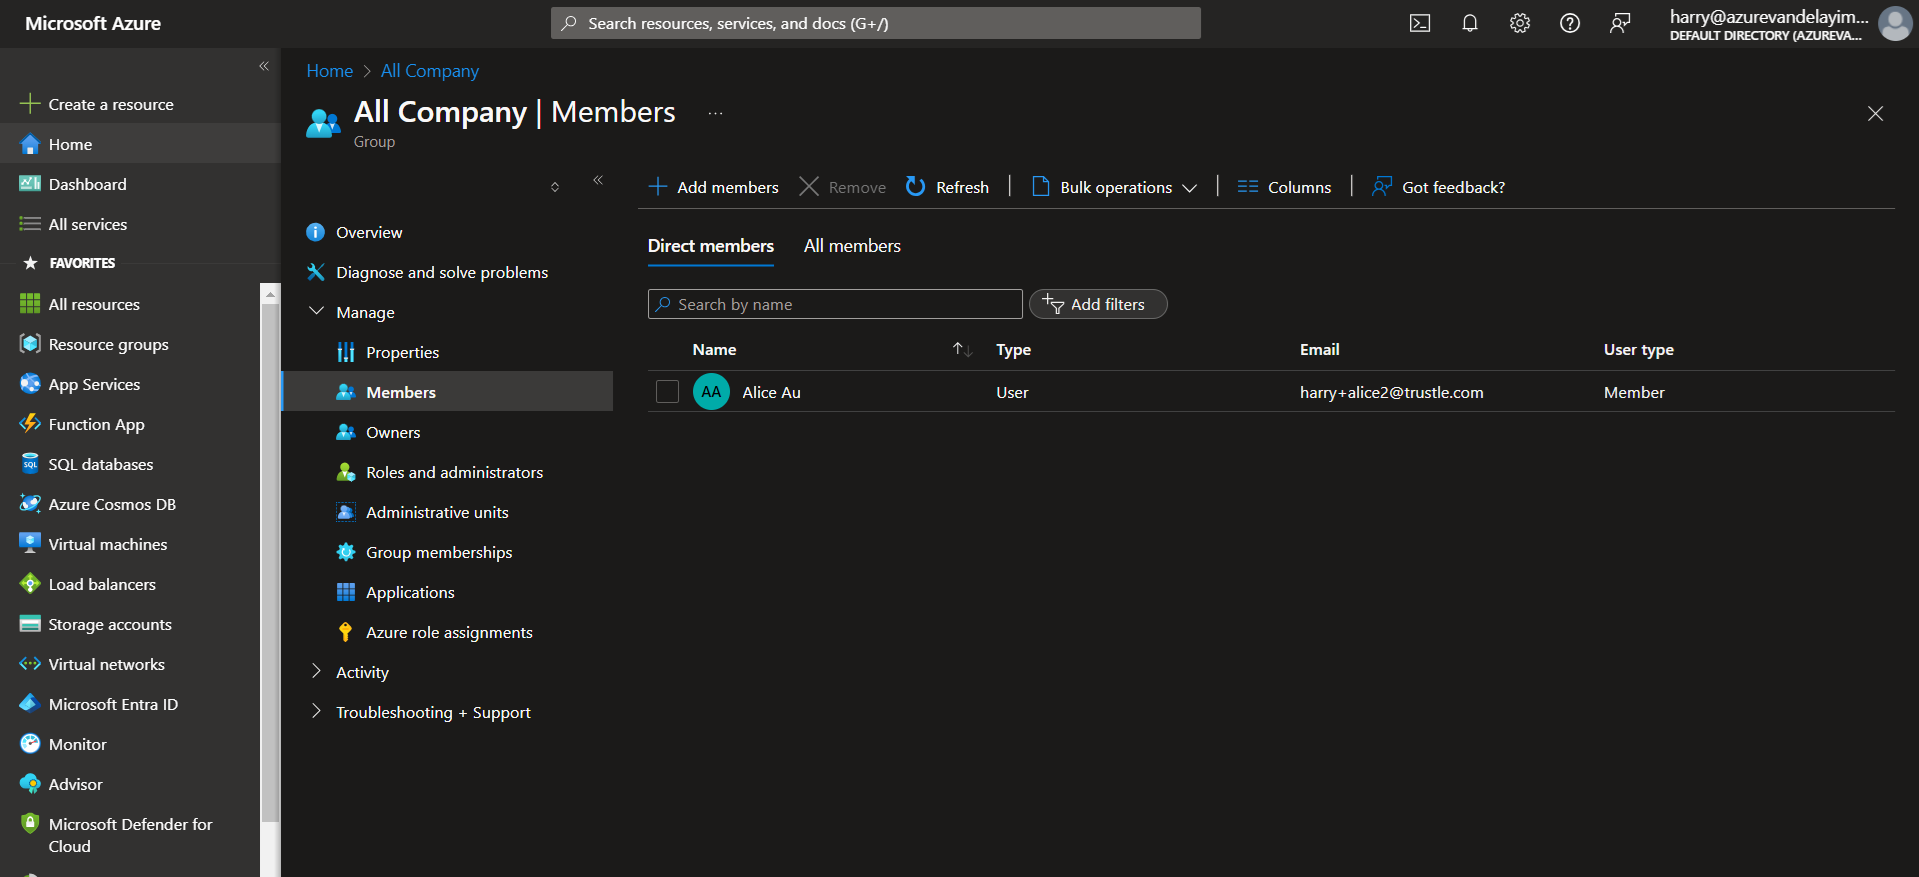
I can even check my Azure group to see that Alice has gained access on Azure. Our Just-In-Time request was successful!
I hope you enjoyed this Introduction Tutorial on setting up a User and a System, then completing a Just-In-Time request. Check out our next Tutorials to learn more about what Trustle can do for your company!