4.7 Installing Google Workspace
Introduction
Welcome to the section on installing Google Workspace with Trustle. This section will showcase how to setup your Google Workspace environment and connect with Trustle. Let's get started!
Your Google Workspace Environment
You will need to set up your Google Workspace environment before creating an application. If you don't have an account yet, you can create a free trial account on the Google Workspace website.
Once you create your account, you should have at least one user on your Admin page.
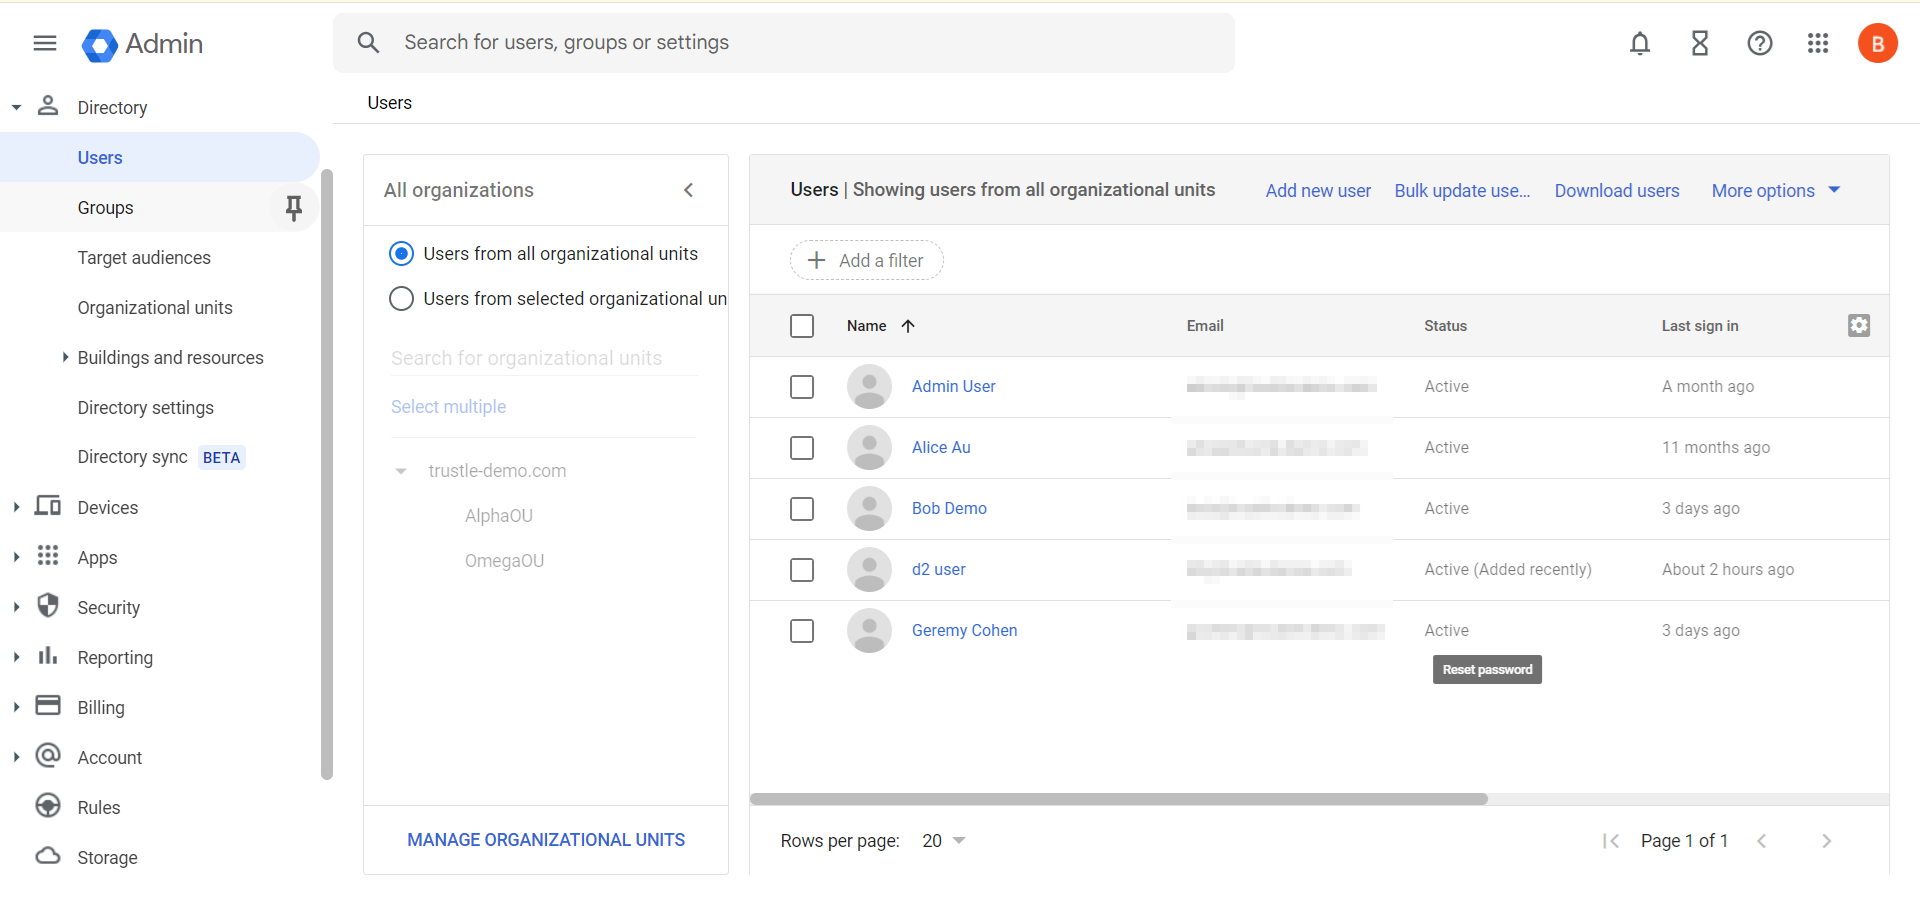
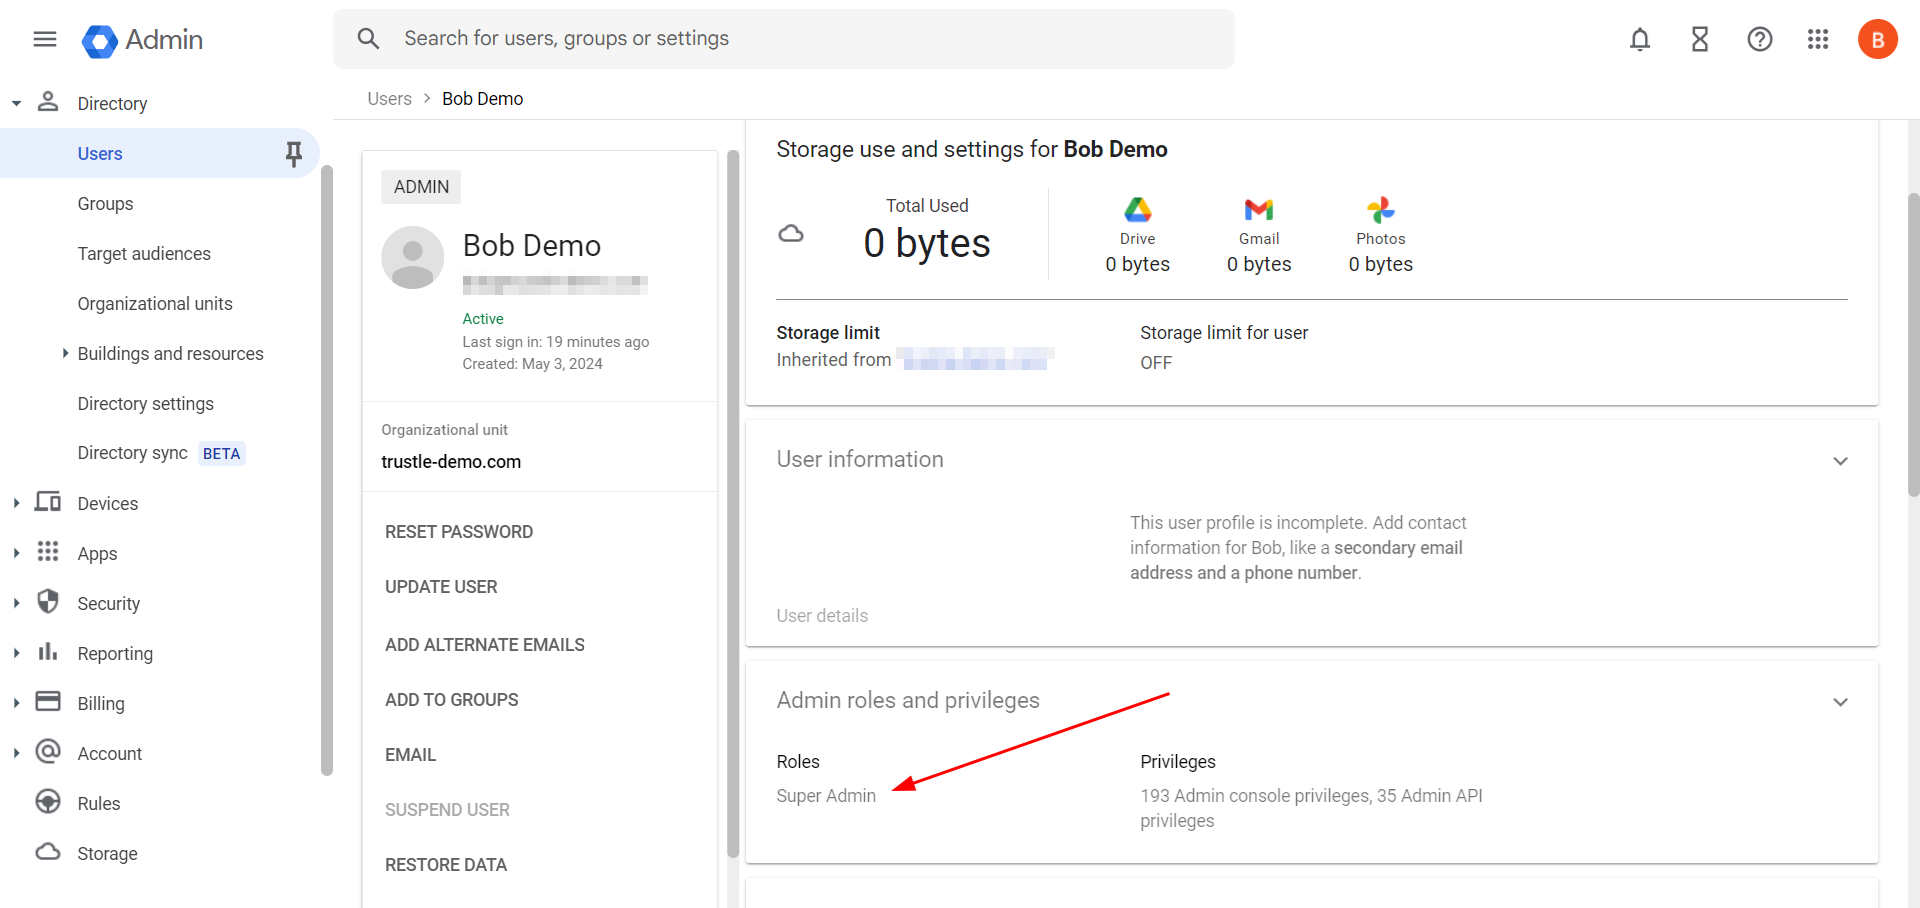
Ensure that the user you plan to use with Trustle has either Super Admin or Group Admin. This will allow Trustle to successfully connect with your account.
Trustle Connection
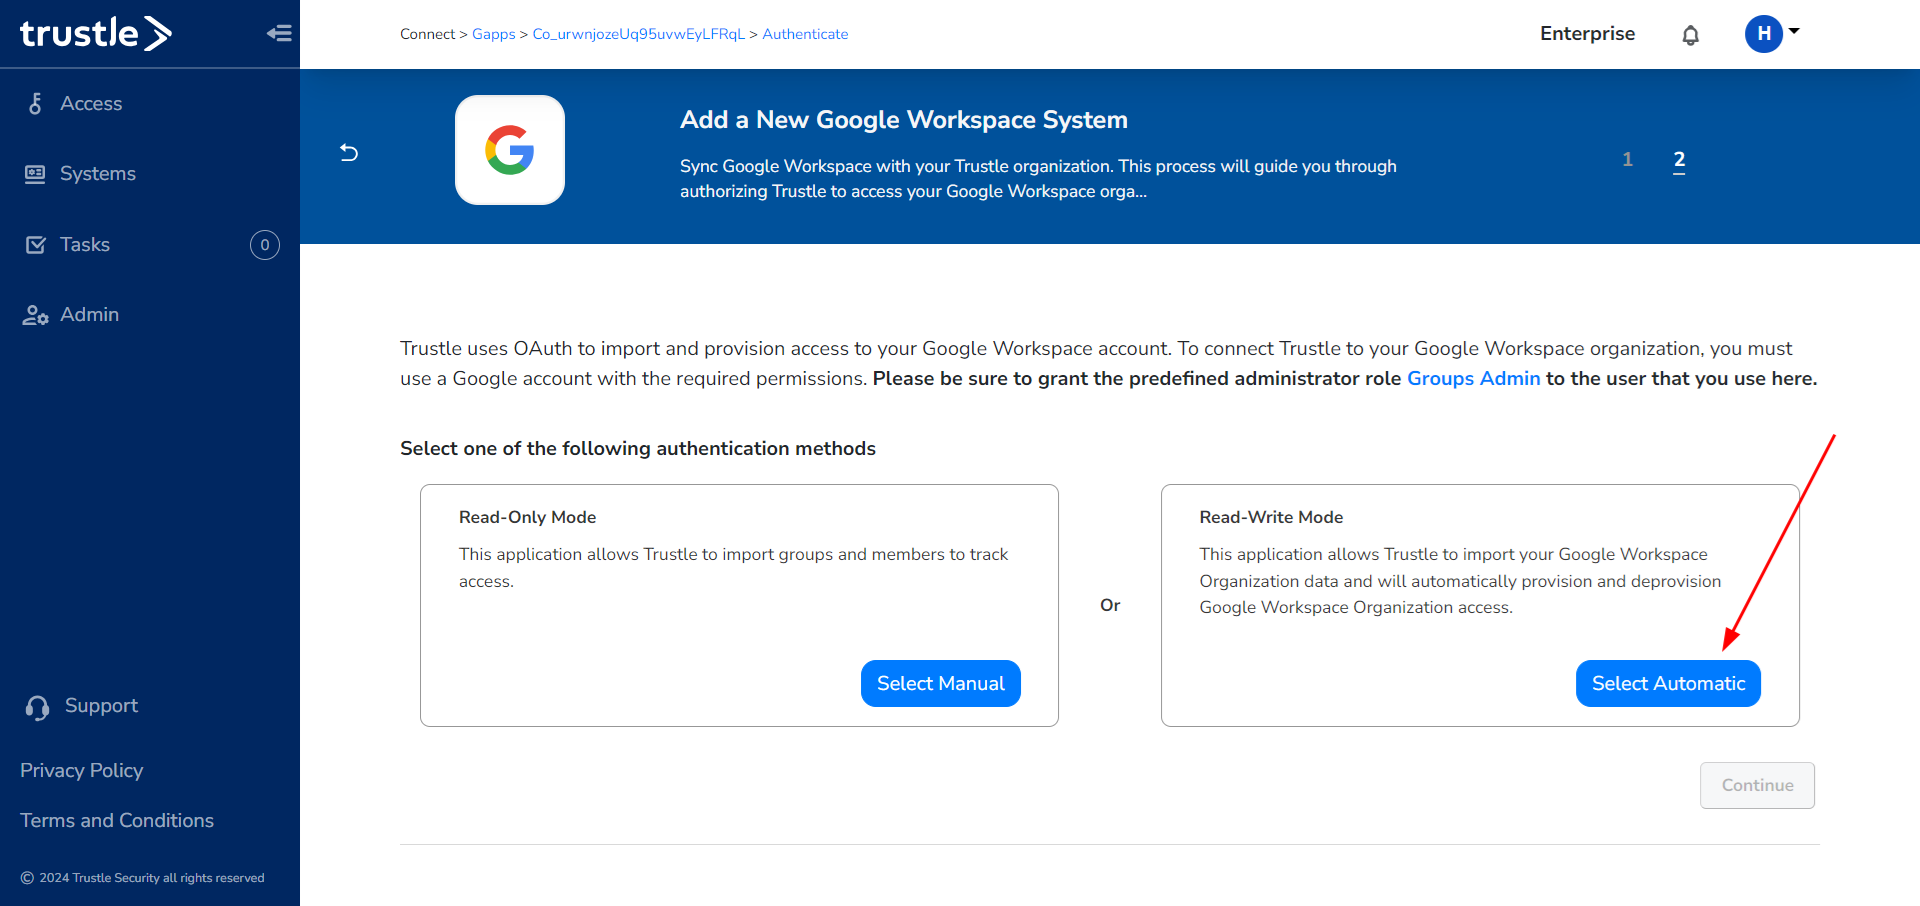
Now that we have our Google Workspace account created, we can head over to Trustle to set up the Google Workspace Connector. On the Systems page, click "Add System" and select Google Workspace. You will then see this page which asks you to select a Read-Only or Read-Write connection. I will choose Read-Write for this demo.
Next it will have you select the account that you created before. Again, make sure this account has Super Admin or Group Admin.
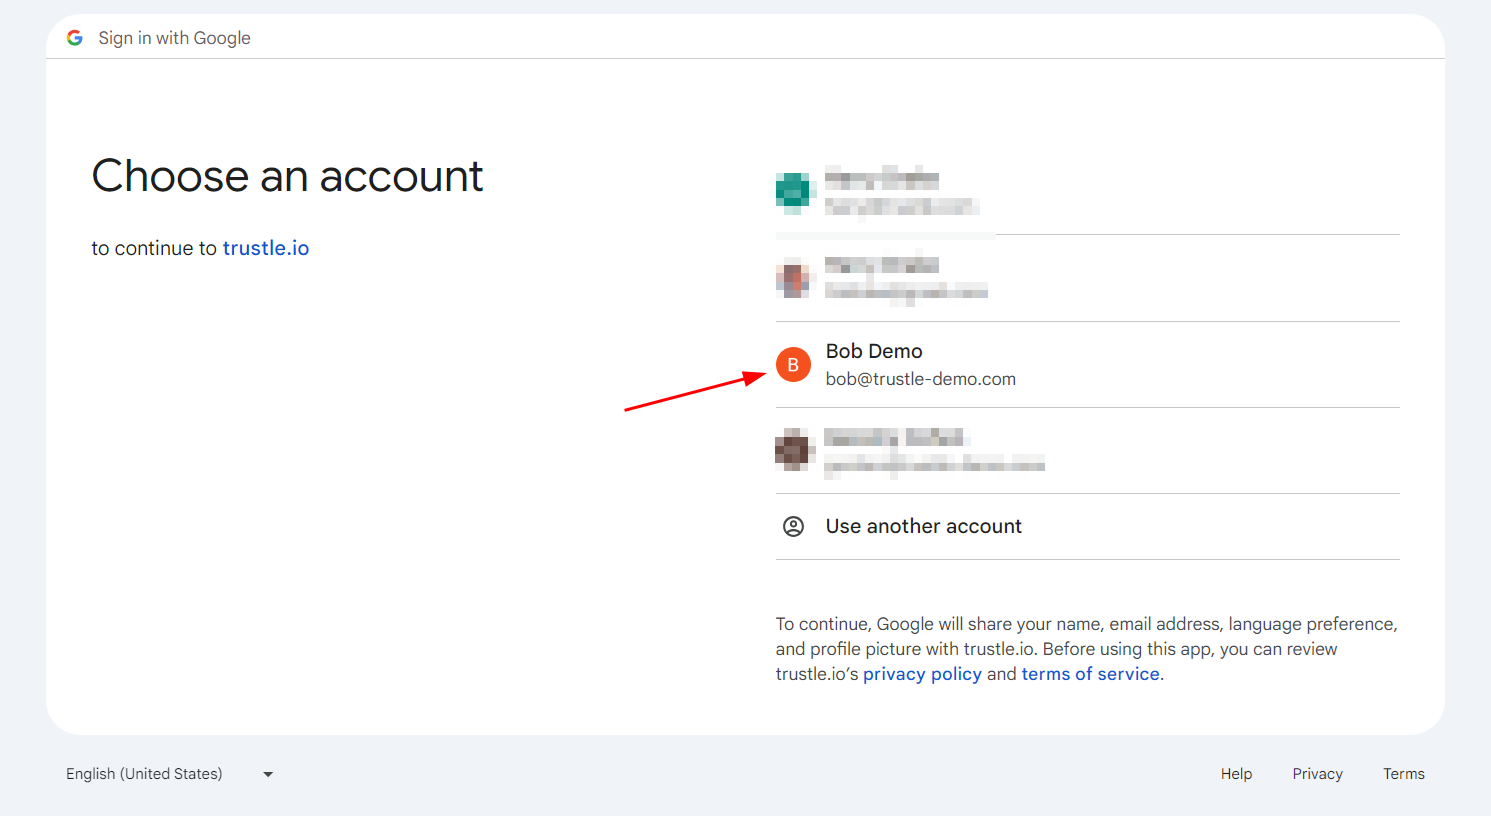
Select your account and complete the connection process. You may see an error from Google which is warning you about an unsafe connection. You can click "Advanced" and force the connection. This will bring you back to Trustle and you will see a green dot besides the Read-Write connector. Click continue and it will bring you to this success page.
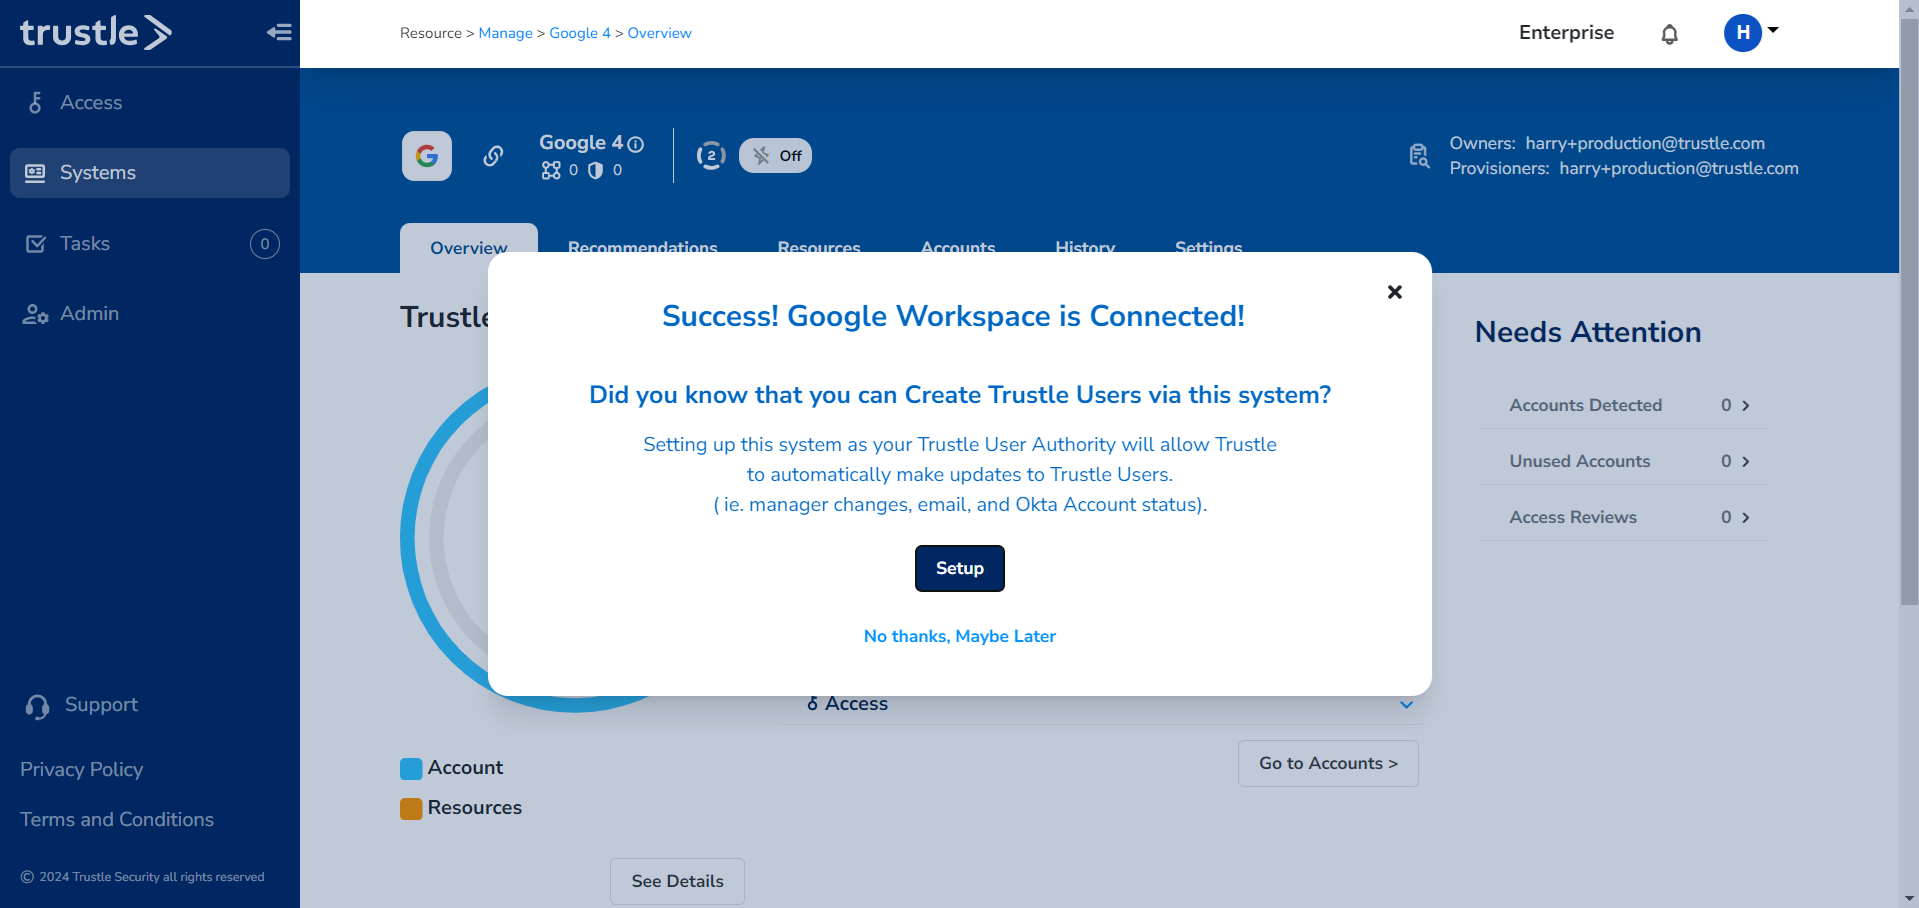
Congratulations! You connected your Google Workspace account to Trustle. You will see your users and resources populate in Trustle momentarily. You can also work with this system to create Trustle users and select it as your Trustle Authority. Check out our next Tutorials for more information on Trustle!