4.4 Installing AWS IDC
Installing AWS IDC with Trustle
Welcome to the section on installing AWS IDC with Trustle. This section will showcase how to setup your environment and connect with Trustle. Let's get started!!
Prerequisites
To complete this chapter, you'll need an AWS account. If you don't already have one you can use as a dev sandbox, signup up for a free AWS (pay as you go) account here.
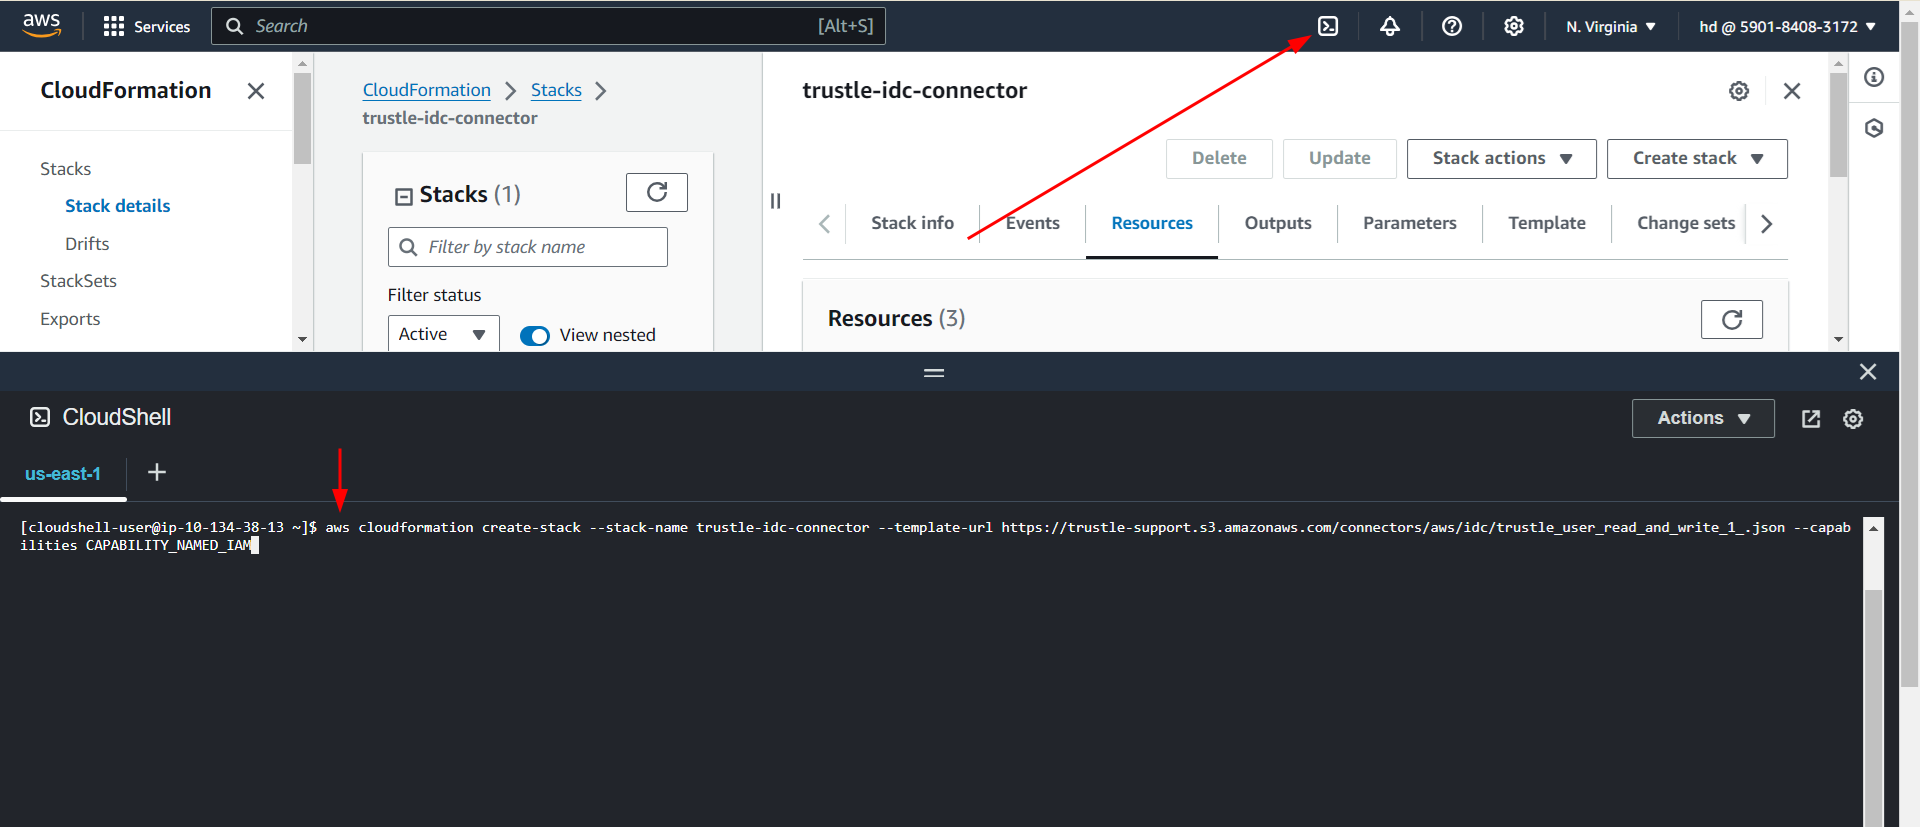
Login to you AWS account as a user that has Cloudformation:CreateStack permissions, and select the CloudShell icon to open the cloudshell prompt.
NOTE: The AWS-specific steps of this tutorial will not incur AWS billing charges.
Installing the AWS IDC Integration
To enable Trustle to communicate with your AWS IDC account, we’ll need to first install the Trustle AWS IDC Connector.
- Paste the following into the AWS IDC CloudShell to create the Trustle IDC Connector:
aws cloudformation create-stack --stack-name trustle-idc-connector --template-url https://trustle-support.s3.amazonaws.com/connectors/aws/idc/trustle_user_read_and_write_1_.json --capabilities CAPABILITY_NAMED_IAM
- You can view the status of the CloudFormation install script via the CLI, or console at:
https://console.aws.amazon.com/cloudformation/home
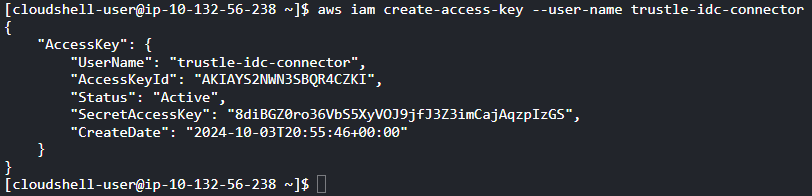
- Once the stack has been created, run the following command in the CloudShell to recieve your access keys:
aws iam create-access-key --user-name trustle-idc-connector
Paste Access Keys into Trustle
After you run the install scripts, you will receive your Access Keys which look like this:
Finally, paste them into the Trustle Connector:
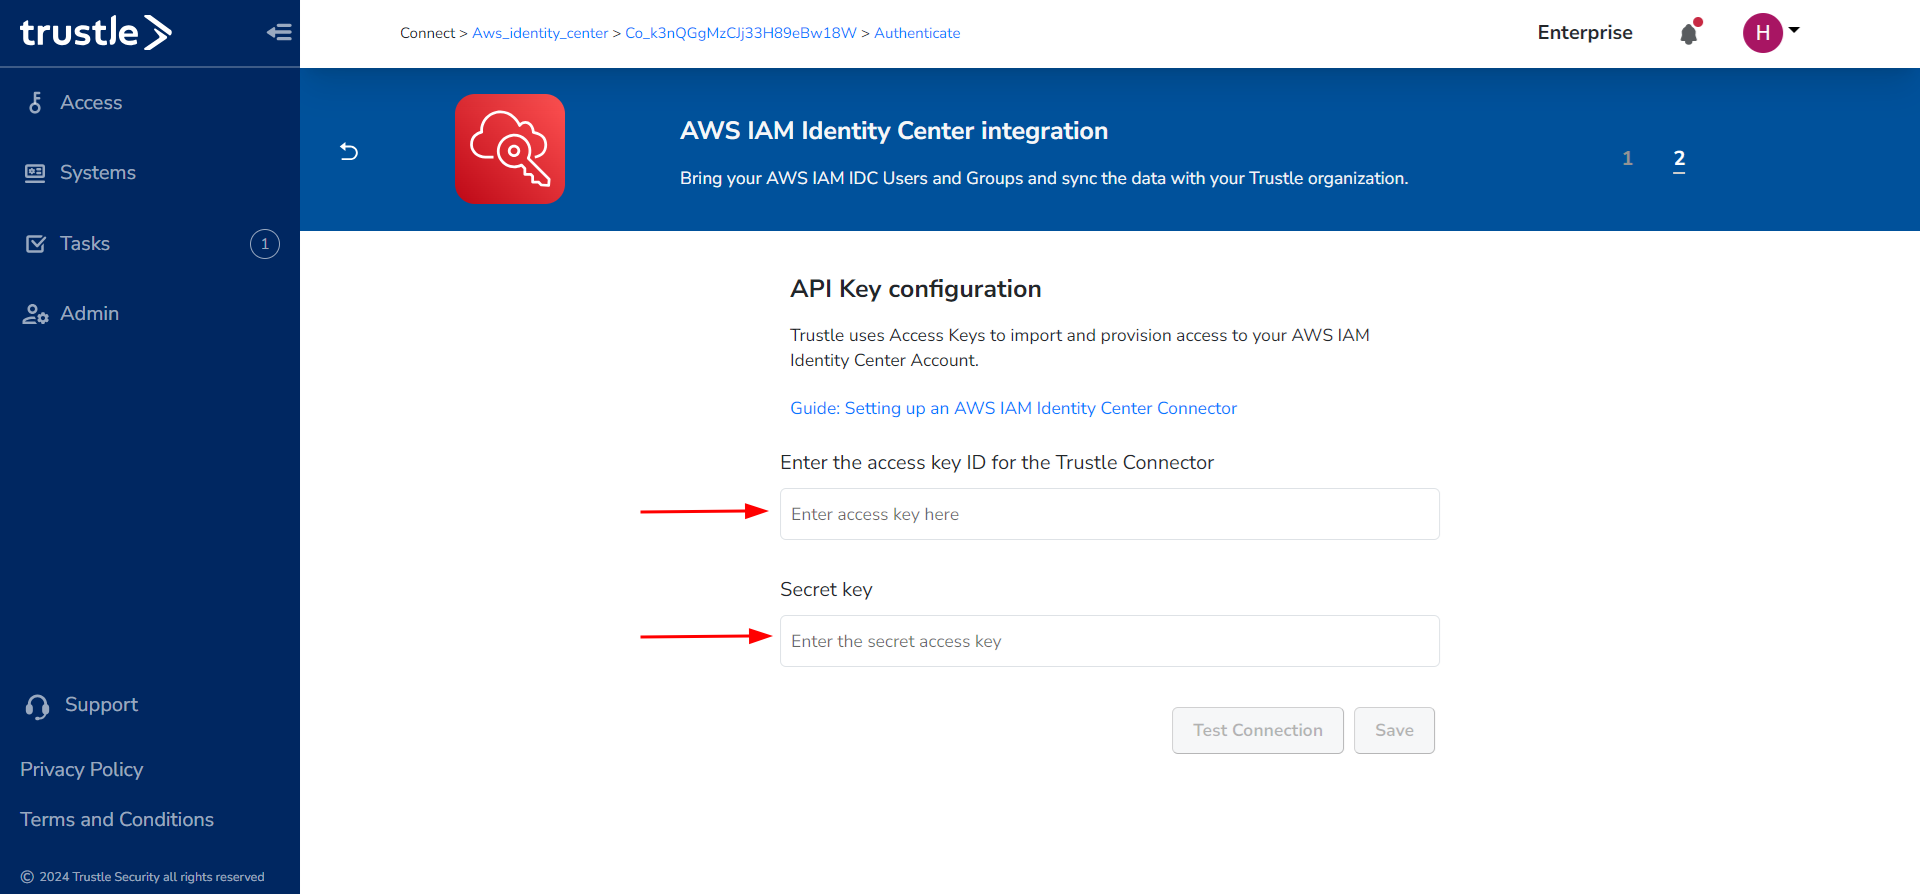
You're done! We look forward to helping you protect your AWS IDC account with Trustle.